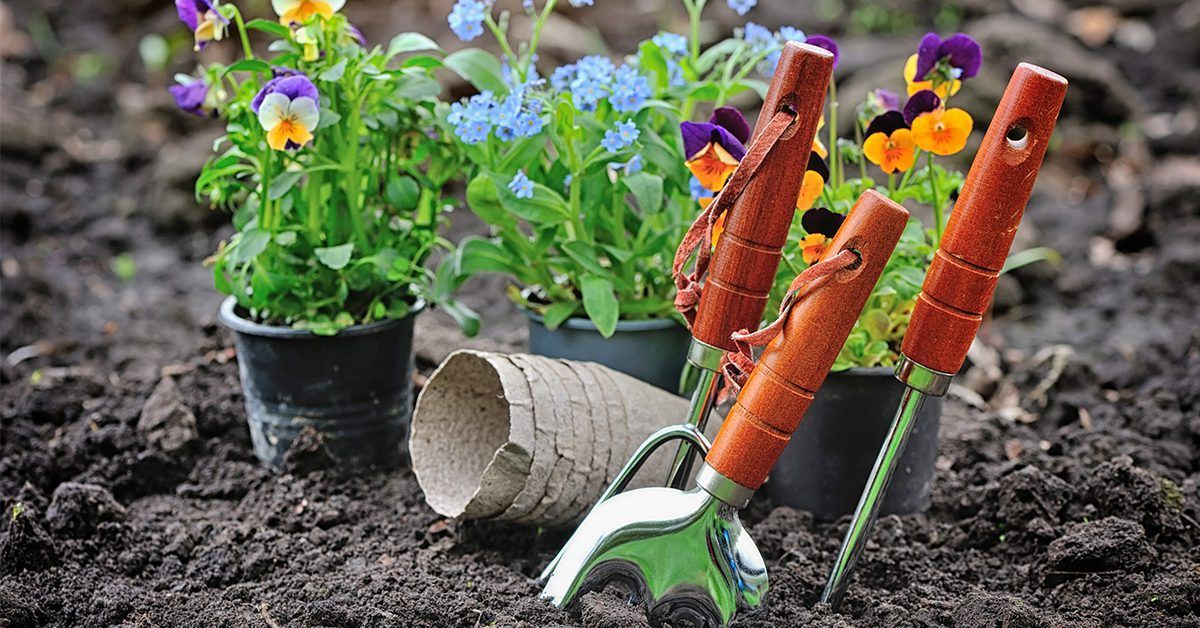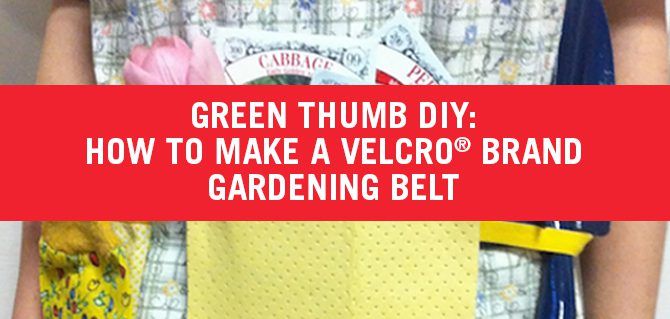
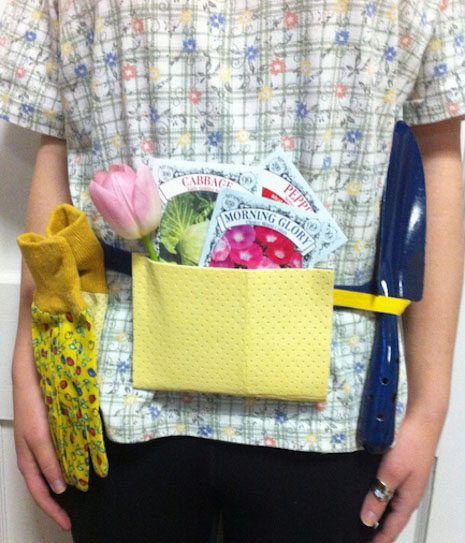
It is time to bring out the seeds and shovels to get your garden growing. To help keep everything conveniently within reach, we created a VELCRO® Brand Gardening Belt. With everything at your hip, you’ll have no trouble getting started.
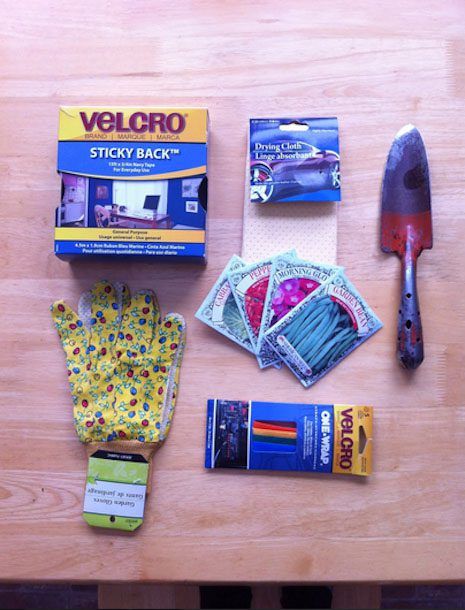
MATERIALS:
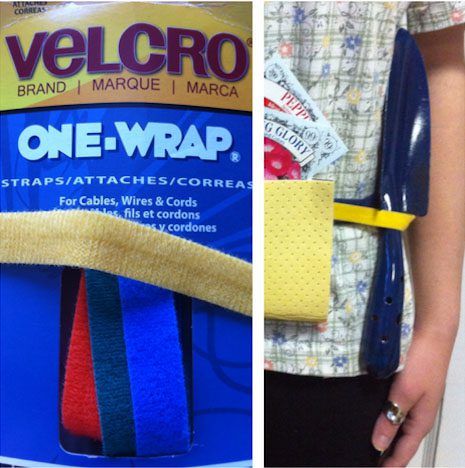
- VELCRO® Brand One-Wrap™
- VELCRO® Brand Sticky Back™
- Gardening Gloves
- Shovel
- Waterproof Fabric
- Seeds
TOOLS:
- Scissors
INSTRUCTIONS:
You’re only six steps away from a Velcro® Brand gardening belt. Grab your waterproof fabric, VELCRO® Brand Sticky Back™, scissors and join us at the crafting table.
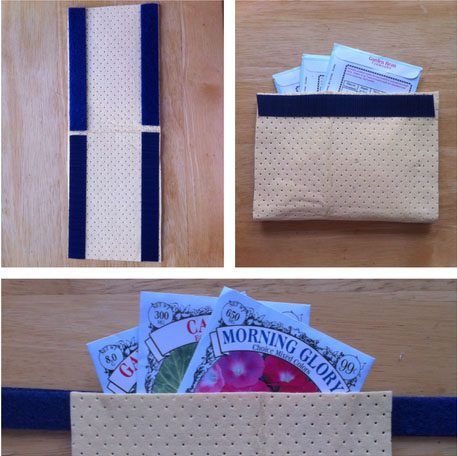
Step 1: First, fold your fabric in half and cut out a square that will hold your seeds and gardening essentials. Line one half with the hook side of VELCRO® Brand Sticky Back and the other with the loop side. When pressed together, they will make a durable pouch to hold all your seeds.
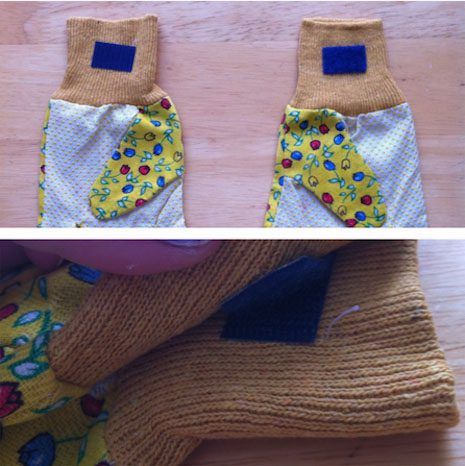
Step 2: To keep your gloves right on your hip for easy access when tackling those weeds, cut 3 squares of VELCRO® Brand Sticky Back™. Place two pieces on the inner side of the gloves to adhere them together and one piece on the back so your gloves can stick to the gardening belt.
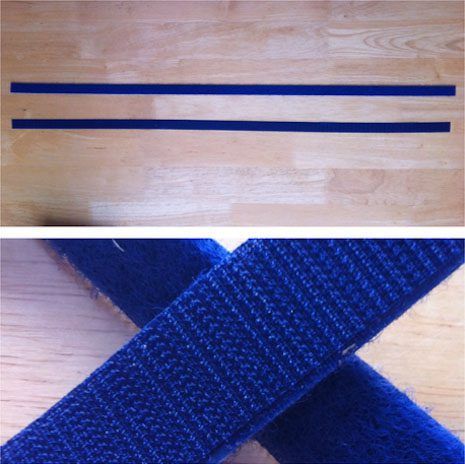
Step 3: Time to make the belt! Measure a strip of VELCRO® Brand Sticky Back™ around your waist for size. Make sure it overlaps an inch or two, so it has something to adhere to. Cut both strips the same length and touch the two Sticky-Back™ together. Ta-da! Your VELCRO® belt.
Step 4: VELCRO® Brand One-Wrap straps can easily loop in any tool you need. Stick the strap onto the belt. Make sure to leave a gap where your shovel handle can slide right in. Now, your shovel is right by your hand, ready to dig up those unruly weeds.
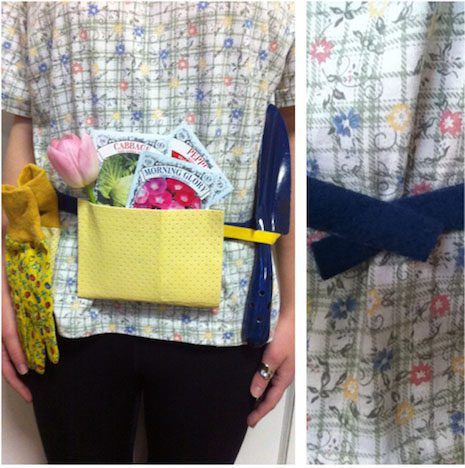
Voilá! All your gardening goodies at the ready.