Now that Thanksgiving has come and gone, it’s full steam ahead on Christmas projects! Since I’ll be traveling for most of December, I haven’t decided whether to put up a live tree in our house or not. In the meantime, because the holidays wait for no one, I’ve teamed up with the VELCRO® Brand to make this removable plywood Christmas tree!
Time needed: 1 hour and 30 minutes
Materials: saw, sander, pencil, tape measure, plywood, VELCRO® Brand Sticky Back Tape
- Measure the Dimensions
Start by measuring out the dimensions of your tree. Since your pencil marks will be your guidelines when cutting, if you’re measurements are slightly off, the tree will look lopsided. Take your time!

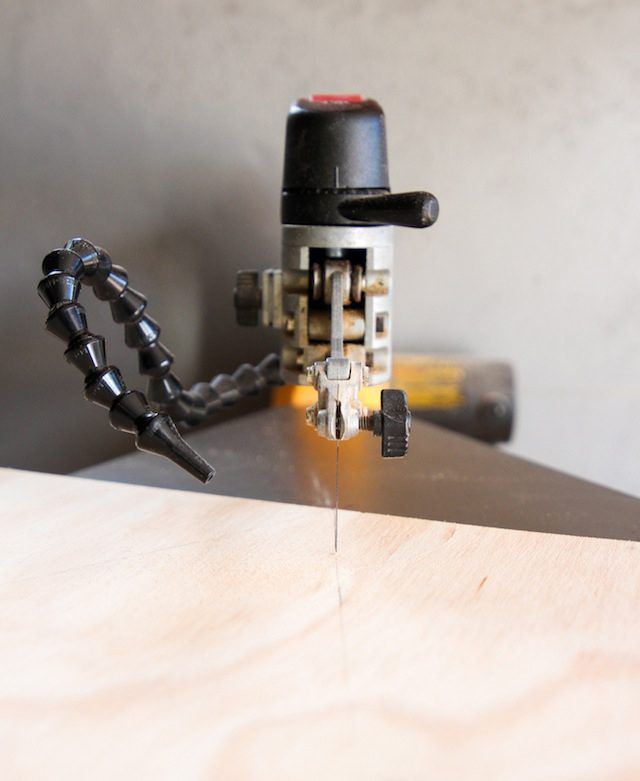
- Cut Your Tree
Using caution, cut out your tree with a saw. I used a scroll saw for this, but any saw should do. Sand the sides and the front surface to even out any unwanted imperfections.
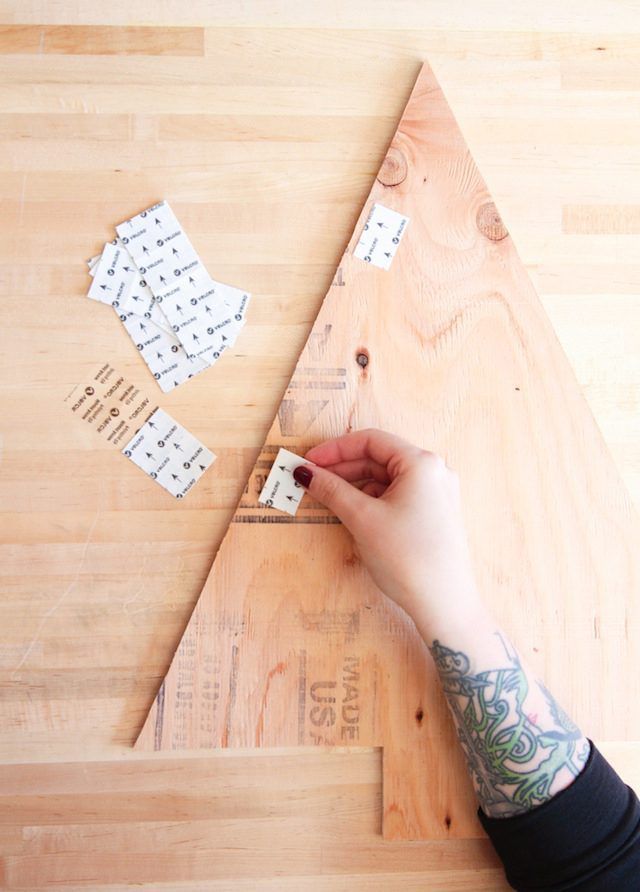
- Hang the Tree
To hang, simply apply VELCRO® Brand Sticky Back Tape; one side will go on the back of your tree, the other on the wall. I used five strips total. This tape is removable, so you’ll be able to take this off your wall once the holidays are over. No nails required and renter-friendly, yahoo!
- Decorate
Now all that’s left to do is decorate! I used yarn and gift tags, but if you go larger, you could use this to display your Christmas cards. You might even be able to hang a few lightweight ornaments as well.

How adorable is this? Thanks to Rachel for putting this project together. Check out her other creations here.