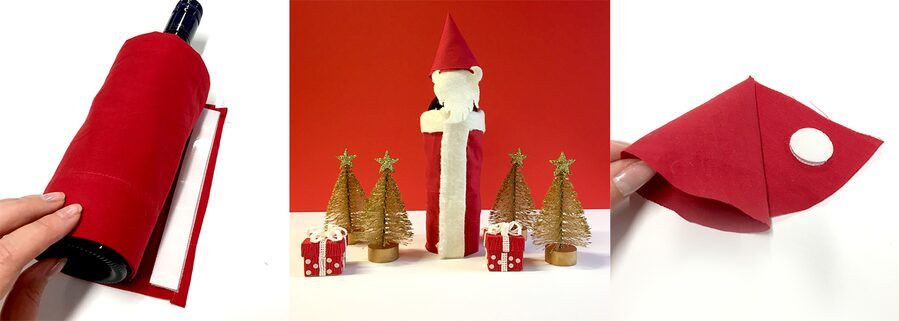
Have you whittled down your collection of bottle gift bags? Are you looking to do a fun and simple Christmas craft? Well, then you’ve come to the right place! With the help of some VELCRO® Brand Sticky Back for Fabrics, you can create this cute Santa wine bottle cover! It’s great to use as a gift bag or wrapping paper alternative when giving someone a bottle of wine for Christmas. It can even be used as a Christmas decoration on the dinner table during the festive season!
Just follow the simple steps below and download the free printable to get on your way!

HOW TO MAKE A SANTA WINE BOTTLE COVER
The first thing you’ll need to do is simply get everything you need for the craft! We’ve included a list below of everything that was used, but of course, you can use any color or type of material you like. This craft is great to do on a budget if you have any old jumpers, scarves or bedding lying around!
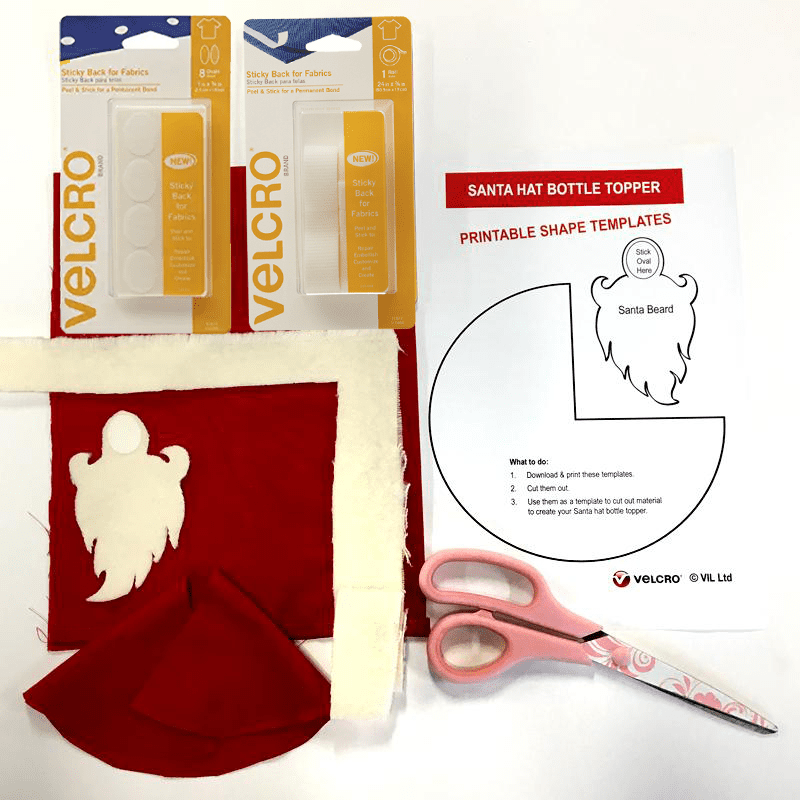
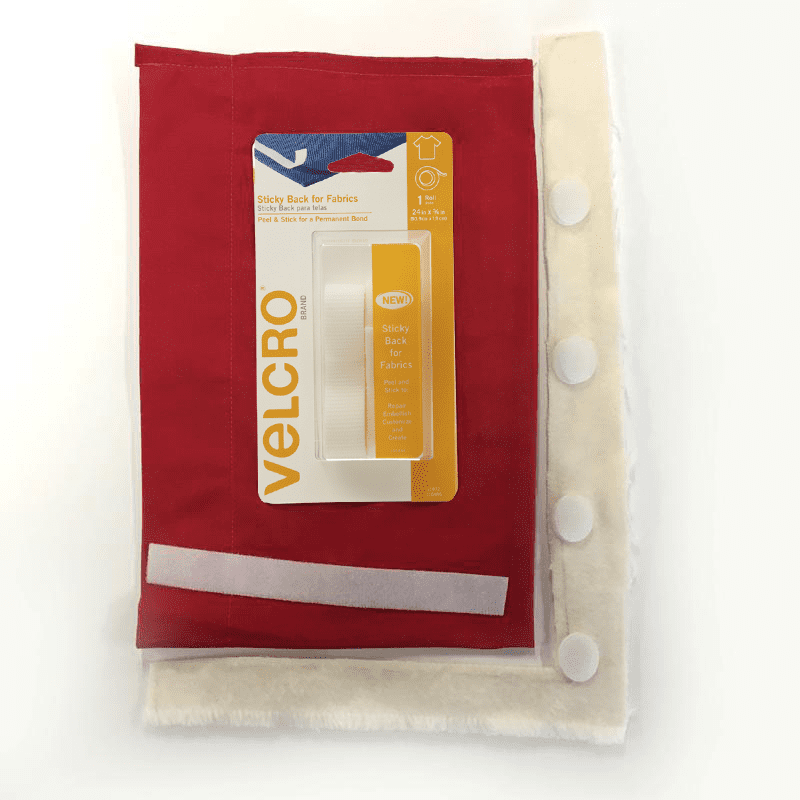
WHAT YOU NEED
- A bottle to gift
- A red bed sheet
- An old white jumper
- VELCRO® Brand Sticky Back for Fabrics Tape White
- VELCRO® Brand Sticky Back for Fabrics Ovals White
- Our free printable Santa bottle topper template
- A pair of scissors
- A pen or pencil
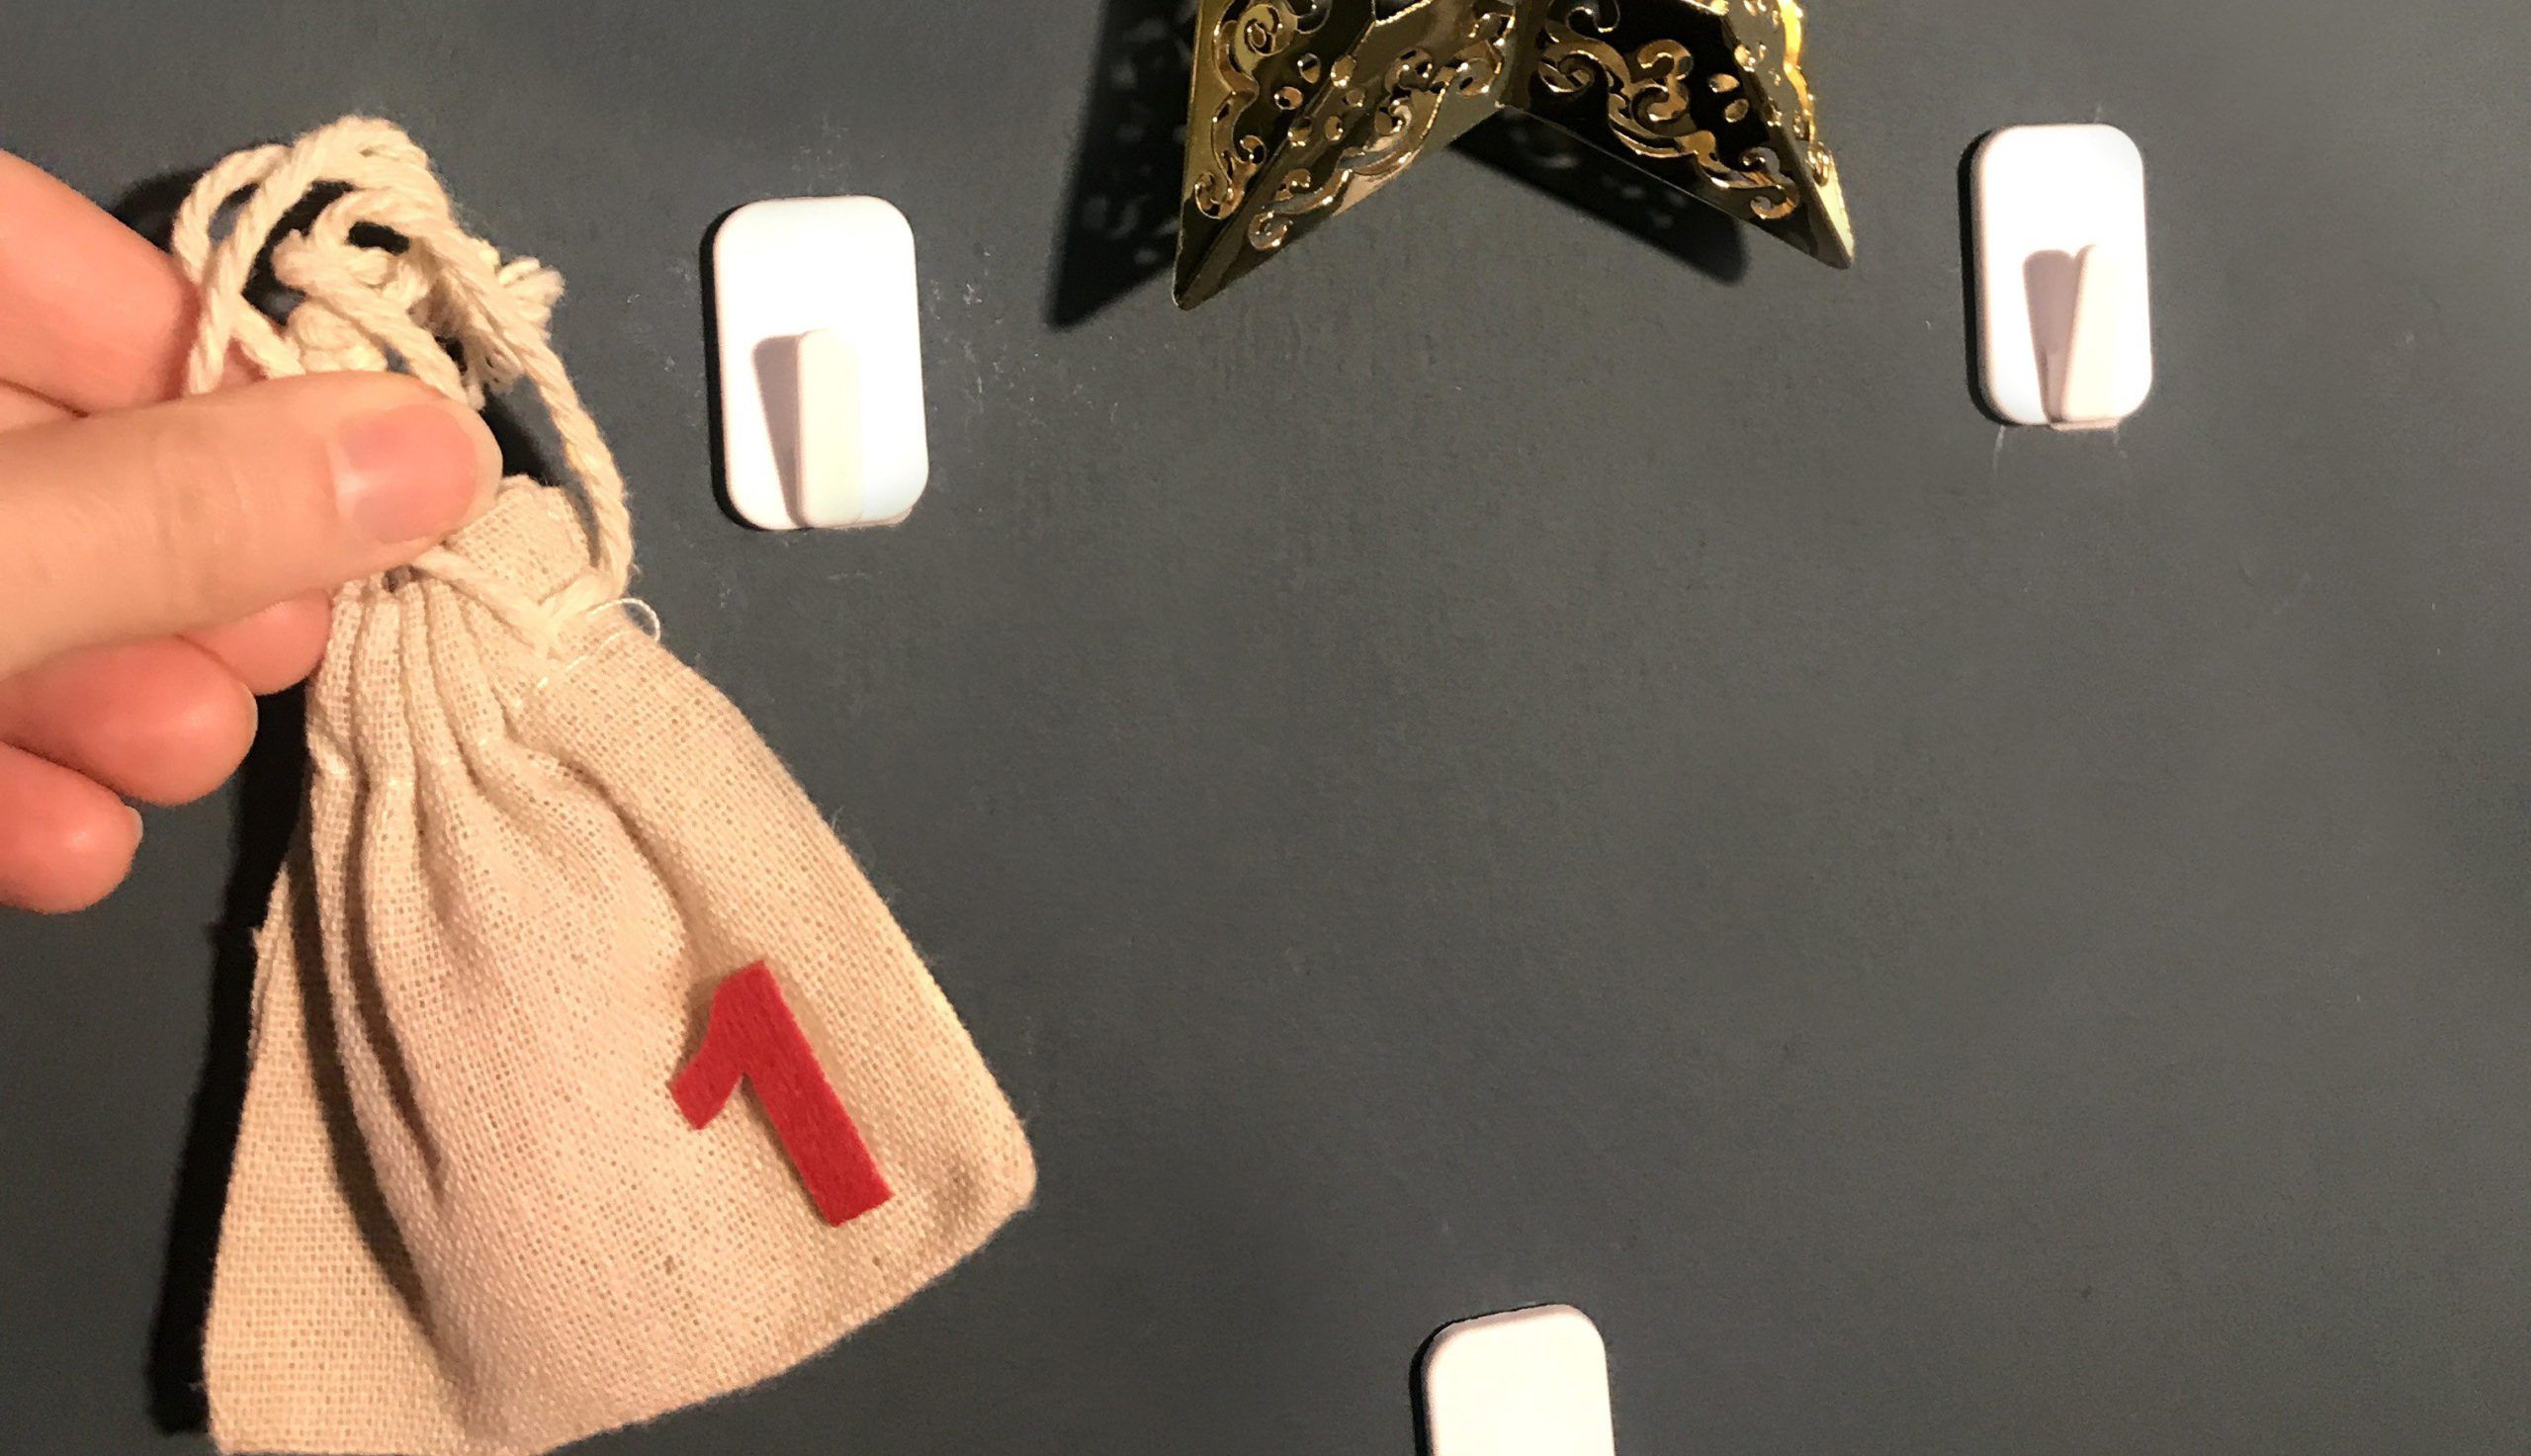
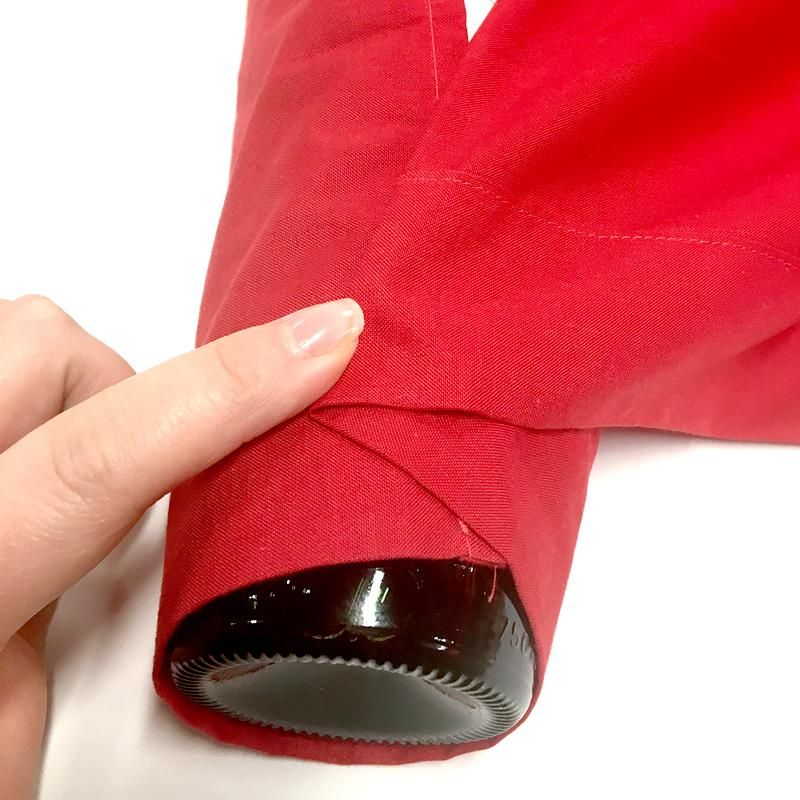
Once you have everything out in front of you, you’ll need to figure out how much material is required to wrap around the bottle you’re gifting. Bottles come in all shapes and sizes so the best way to measure your bottle is to get a piece of string and wrap it around your bottle (you can also do this with the material you’re using, which is what we did).
You should wrap the end of the string around the bottle so that you can see where the end of the string meets itself. Then measure how much string was needed and add an extra 2 inches on (the material must have extra length for the jacket to close), this will be the width of the material you’ll need. For the height, simply measure your wine bottle and see how much of it you want wrapping.
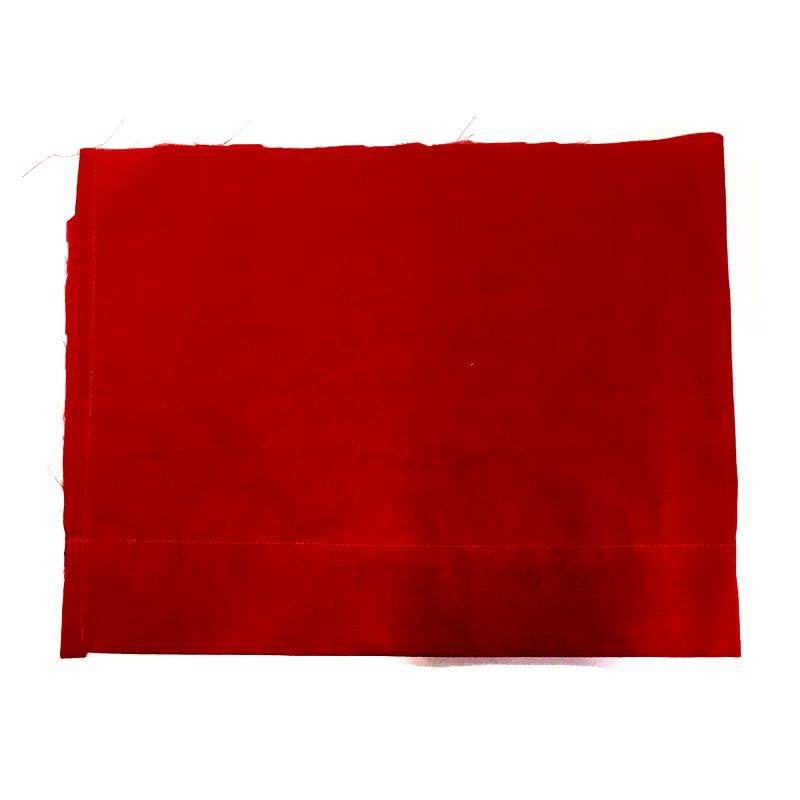
Once you have your measurements you can go ahead and cut a rectangle out of whatever material you’re using for Santa’s jacket, we used a red bedsheet. It’s ok if your material frays a little or looks a bit rough around the edges as this will be hidden with the white detail we’ll add later.
Now that you’re happy with the base of your Santa jacket we can make the clasp. For this, you’ll need some VELCRO® Brand Sticky Back for Fabrics Tape.
Take the tape and measure how much you need using your cut material. For the best results, leave a small gap around 1/2 inch from the top, bottom, and side of the material as shown below. Once you have the right length, make sure you cut the same amount of both the hook (the rough side) and the loop (the soft side) so they can stick together well.
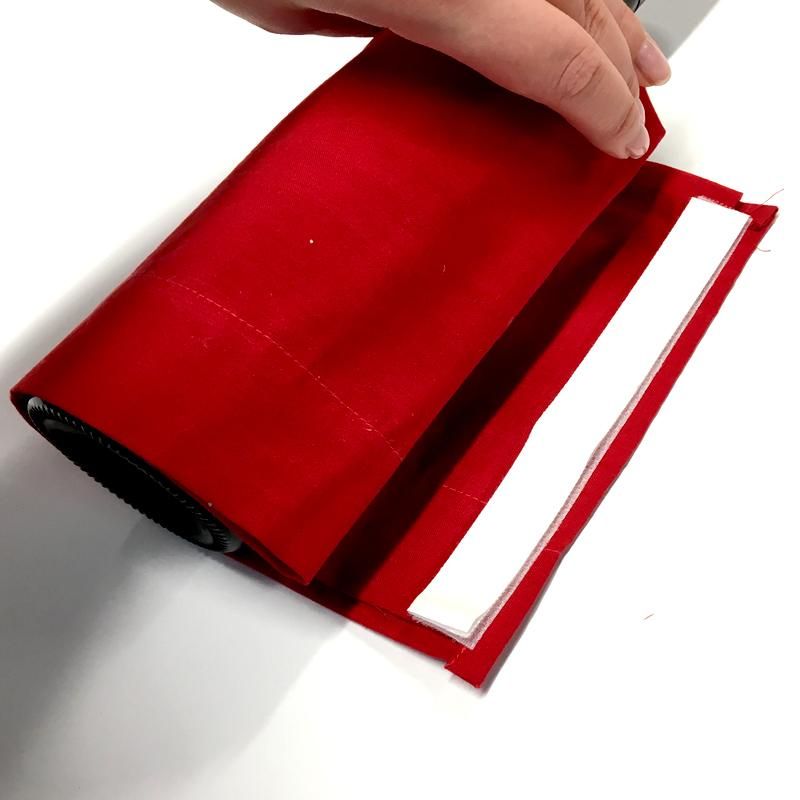
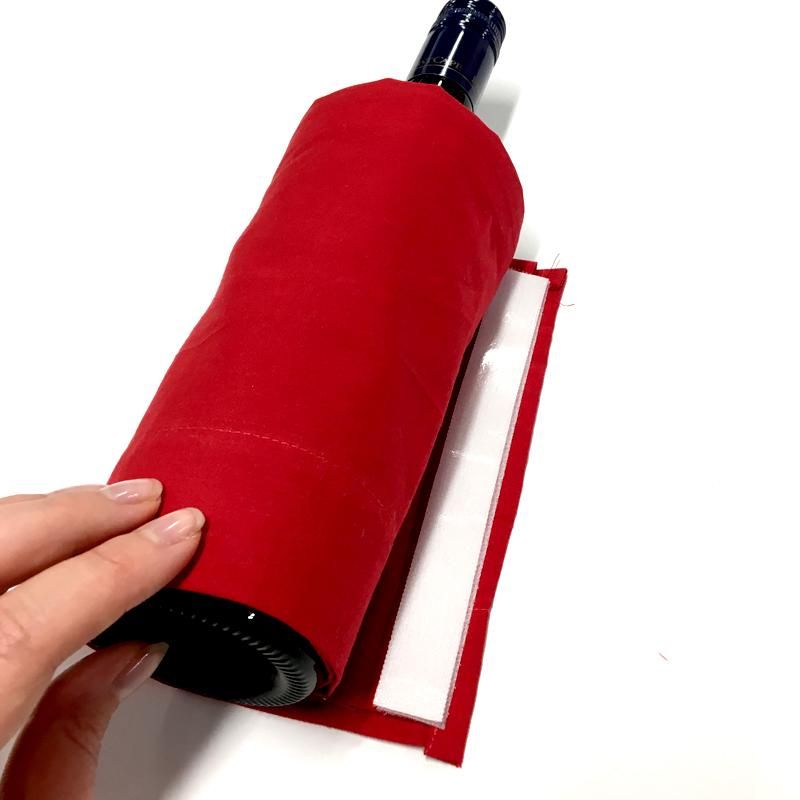
Then stick the hook tape in place on your material and stick the loop tape to the hook.
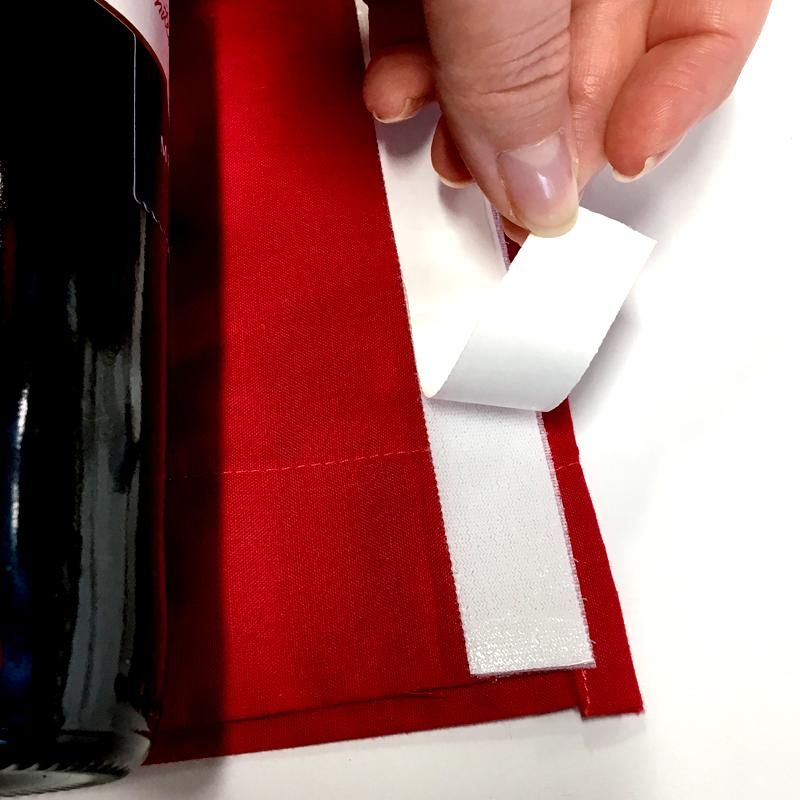
Remove the liner of the loop tape (that’s on top) and simply roll your bottle, wrapped in the material, around onto the adhesive.
Then carefully pull the hook and loop apart, you’ll need to give the VELCRO® Brand Sticky Back for Fabrics Tape 24 hours for the adhesive to stick to the material properly.
Now you’ll be able to create the white lining to your Santa jacket. Use your Santa jacket rectangle to measure out how much white lining you need. It’s up to you how neatly you cut the material, you could do jagged edges to give it more of a fluffy effect or you could keep it neat and straight.
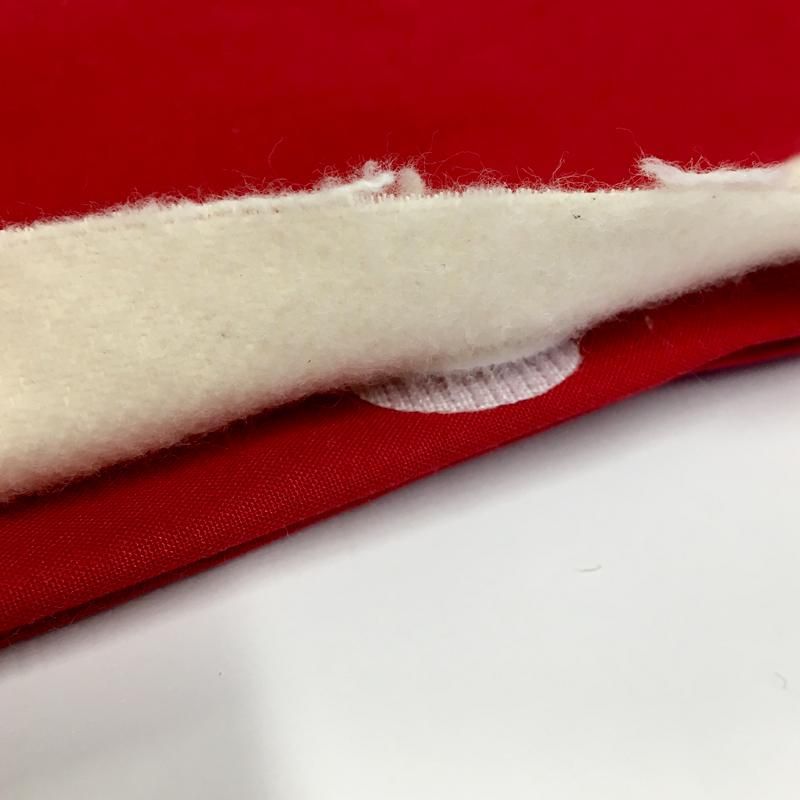
Then you can use your VELCRO® Brand Sticky Back for Fabrics Ovals to stick the fabric down. I like using ovals instead of tape here because it allows the white material to be a bit freer and fluffy! Again, make sure you’re sticking a hook oval (rough side) to a loop oval (soft side). Once you’ve stuck a few ovals down the fabric and have stuck the hook and loop together you can stick the white material onto your jacket.
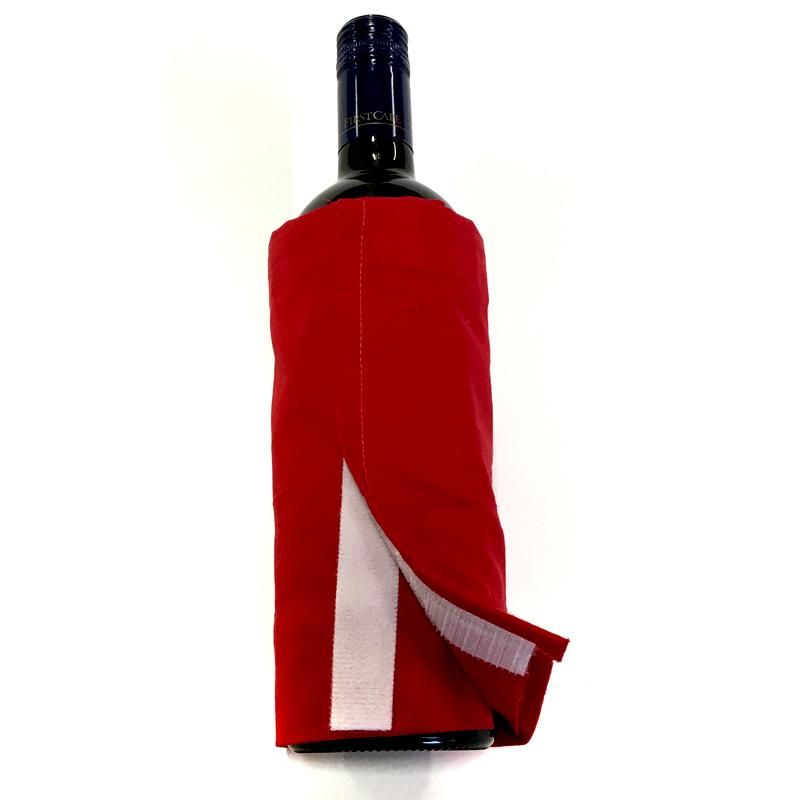
Then simply trim off any excess white material and stick your jacket together around your bottle!
If you fancy getting even more creative you can carry on the steps below to add a Santa hat bottle topper! This is where your free printable will come in handy so make sure you print that off and cut out the templates. We chose to use the same 2 materials for the hat as we used on the jacket.
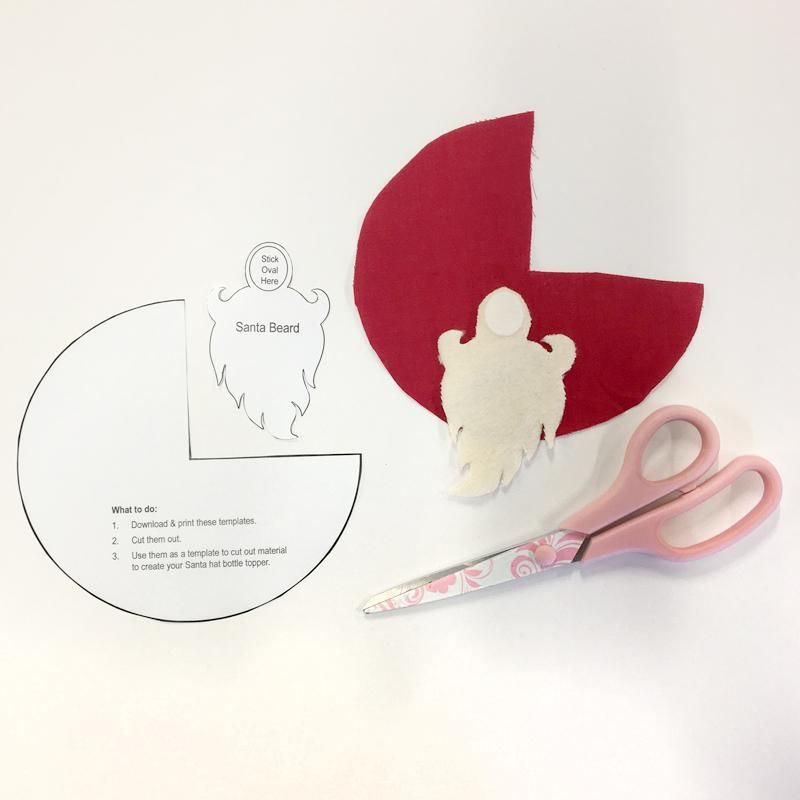
For the hat, cut out your template from the printable and use them to cut your material. We used the red bed sheet again for the hat. You’ll need to use your VELCRO® Brand Sticky Back for Fabrics Ovals to fix the hat together. Make sure you have 1 hook oval and 1 loop oval and stick them together with the adhesive facing the fabric. It’s always good to stick the ovals around 1/2 inch into the material so that you won’t see them. Then just roll your hat material around to create a cone hat! Make sure that you let the ovals dry for 24 hours.

Now for the beard… cut out your beard using the free printable template.

Then stick a VELCRO® Brand Sticky Back for Fabrics Oval on to the space at the top of the beard. Again, join the hook to the loop with the adhesive exposed.
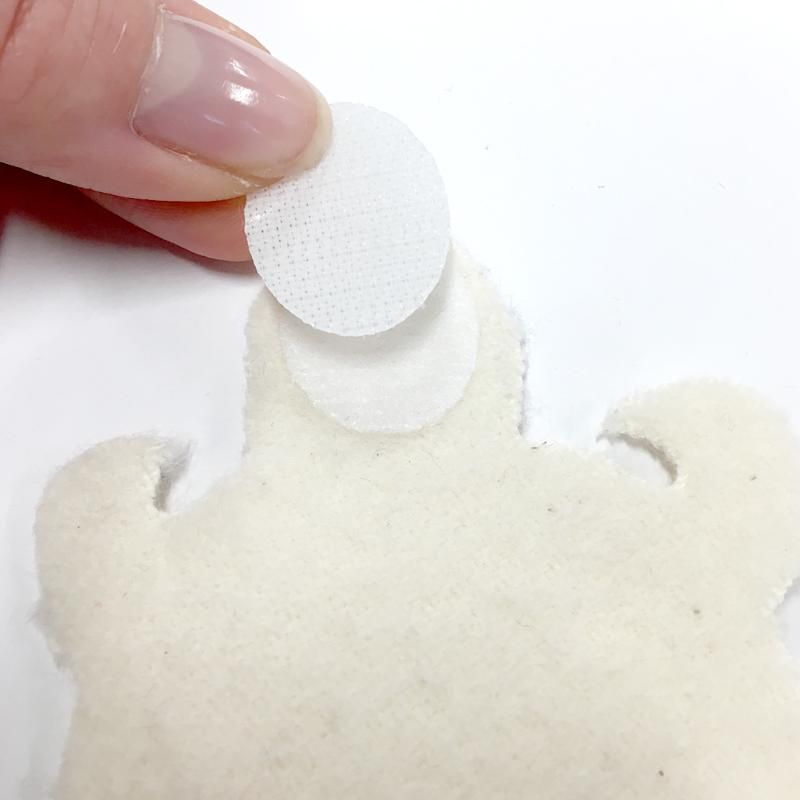
You can then easily slide the beard up into the hat and stick the oval inside the hat.
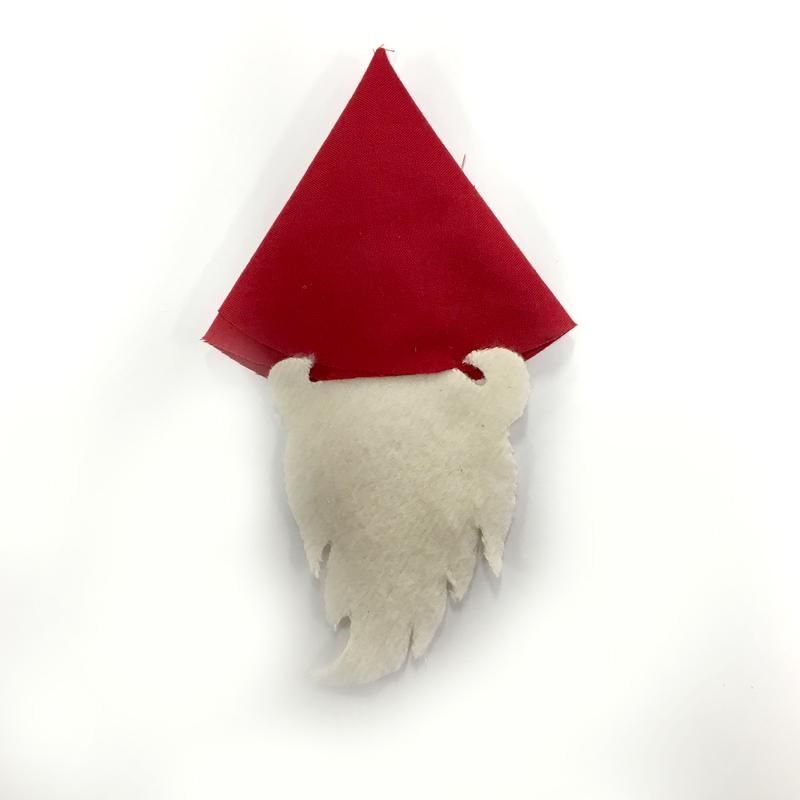
And that’s it! Pop your Santa jacket and hat on your bottle and now you now have a lovely little wine bottle cover that you can impress your friends and family with at Christmas.
Happy crafting!
We hope you enjoyed this festive craft!