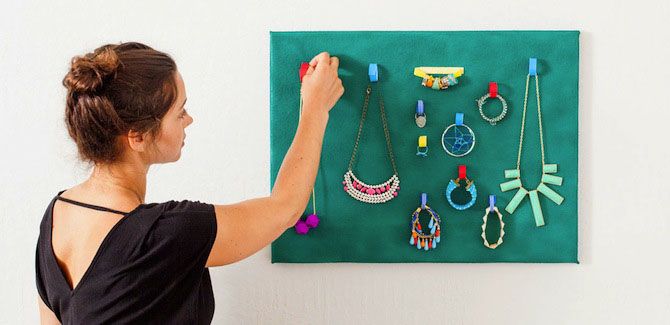
We’re always on the hunt for clever ways to organize and display jewelry and we came up with this project to help you create a colorful and convenient wall display. The fun thing about this is that it looks good enough to double as wall art in your bathroom or bedroom, and is versatile enough to fit whatever jewelry or accessories you need to organize.
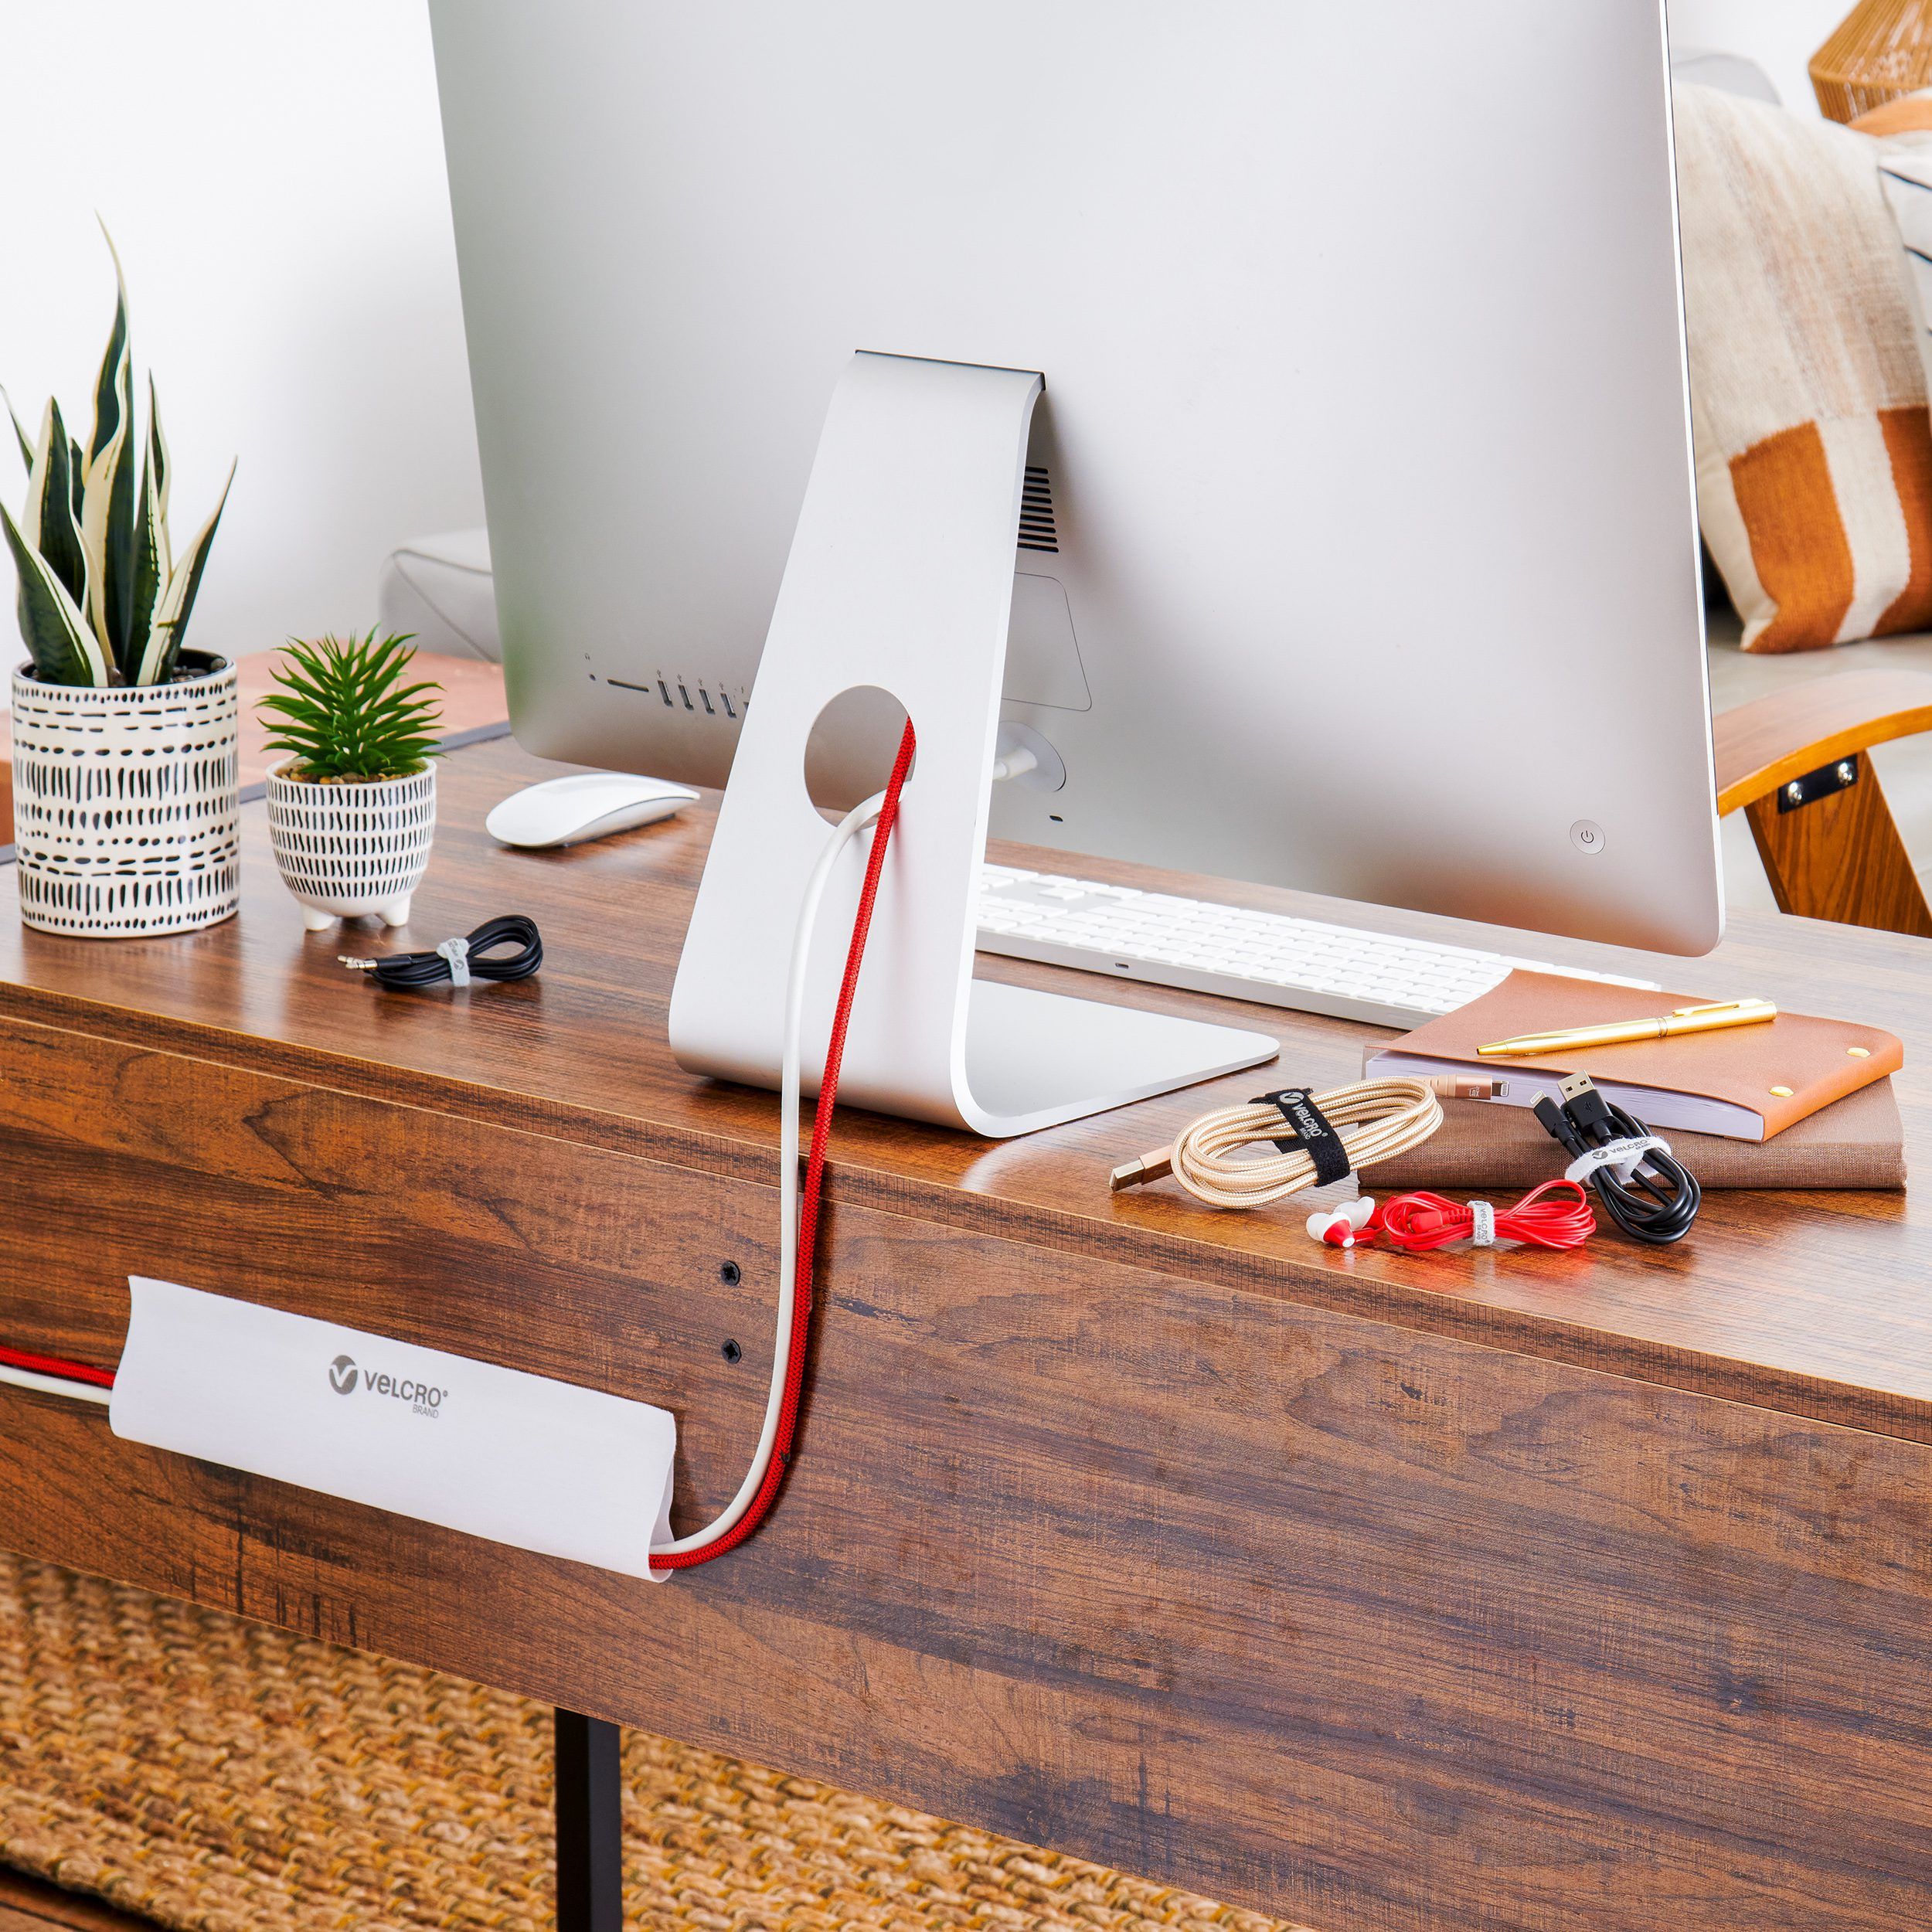
Another Project: Create A DIY Desk Organizer In 15 Minutes
Custom Jewelry Organizer Instructions
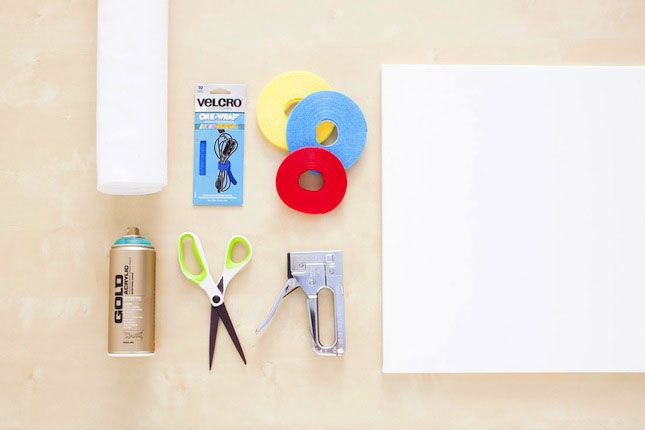
Materials:
– 24×18-inch canvas
– VELCRO® Brand Veltex, Attach-a-Patch® Sheets or white felt
– VELCRO® Brand One Wrap Straps in various colors
– VELCRO® Brand Tape in various colors
– spray paint
Tools:
– scissors
– staple gun
Instructions:
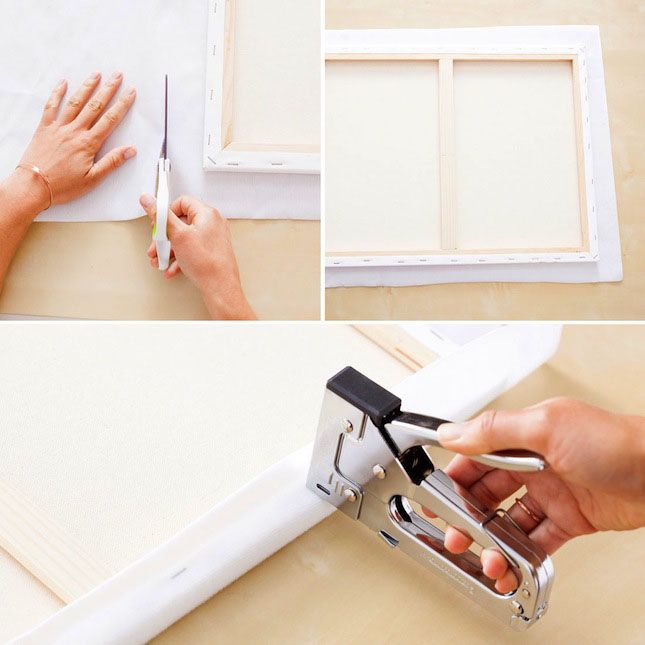
1. Create a sheet of VELCRO® Brand Attach-a-Patch® sheets to 28 inches x 22 inches. If you’re using a different size canvas, you want to size the sheet so that there are 2 extra inches on each side. You can also use white felt for this, but heavy jewelry may not hold.
2. Use a staple gun to attach the VELCRO® Brand White Sheet to your canvas.
3. Spray paint the whole thing in a color that suits your space.
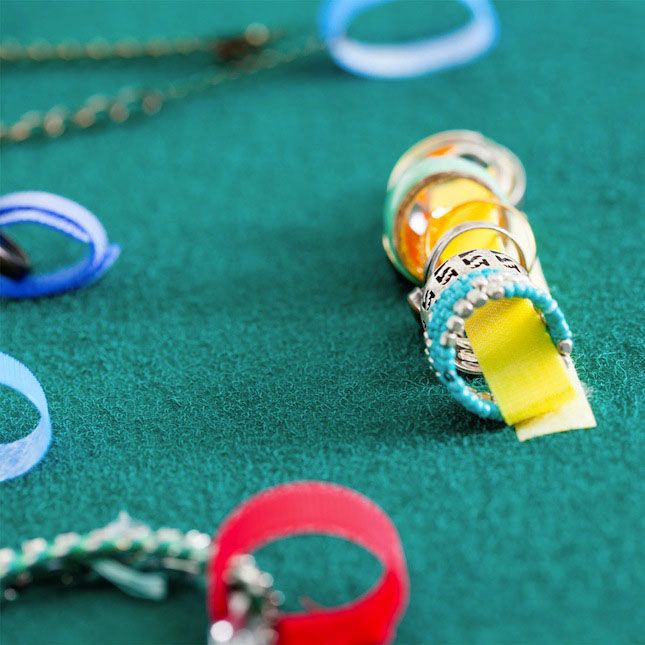
4. Cut pieces of VELCRO® Brand Tape and loop them to organize necklaces. You can also use VELCRO® Brand One Wrap Straps.
5. Hang on the wall, and keep those jewels organized!
Step-By-Step DIY Jewelry Organizer Instructions:
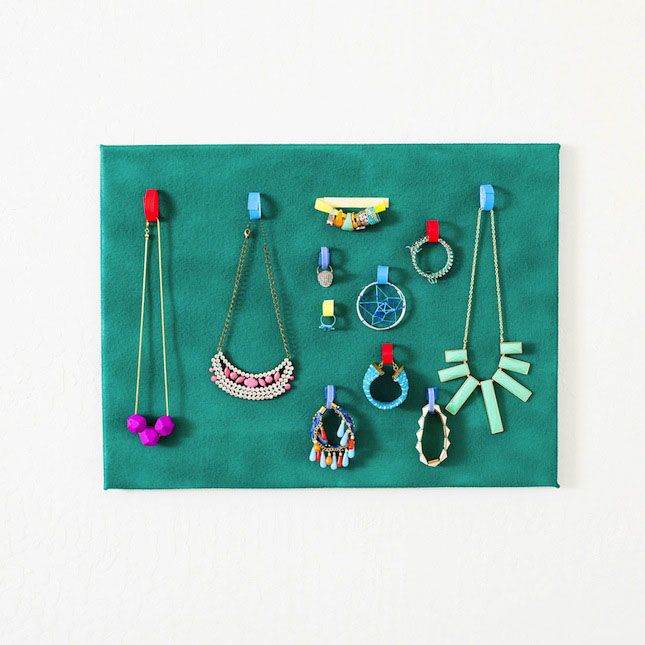
As you can see, we used a whole bunch of colors of VELCRO® Brand Tape and VELCRO® Brand One Wrap Straps.
1. Create a sheet of VELCRO® Brand Attach-a-Patch® sheets to 28 inches x 22 inches.
If you’re using a different size canvas, you want to size the sheet so that there are 2 extra inches on each side. You can also use white felt for this, but heavy jewelry may not hold.
 |
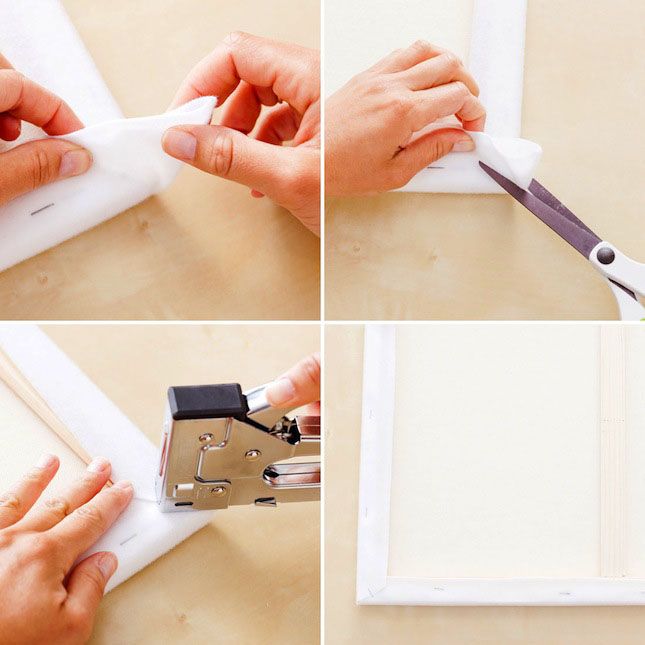 |
2. Use a staple gun to attach the VELCRO® Brand White Sheet to your canvas.
The corners can be a little tricky, so you may need to cut off additional material before stapling it.
3. Spray paint the whole thing in a color that suits your space.
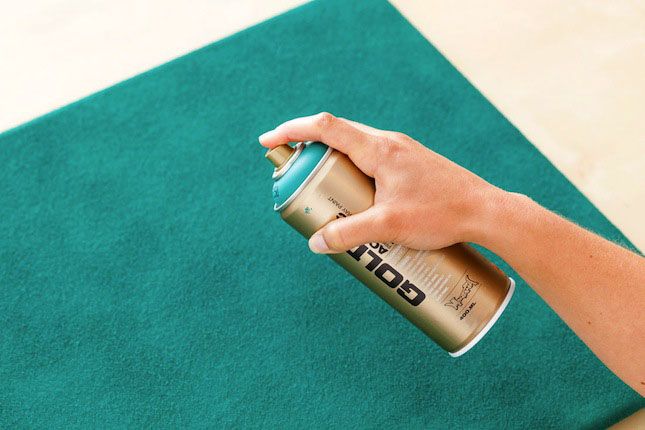
We painted our VELCRO®-covered canvas a dark teal.
4. Cut pieces of VELCRO® Brand Tape and loop them to organize necklaces. You can also use VELCRO® Brand One Wrap Straps.
 |
 |
Now, time to get organized. Almost done!
5. Hang on the wall, and keep those jewels organized!
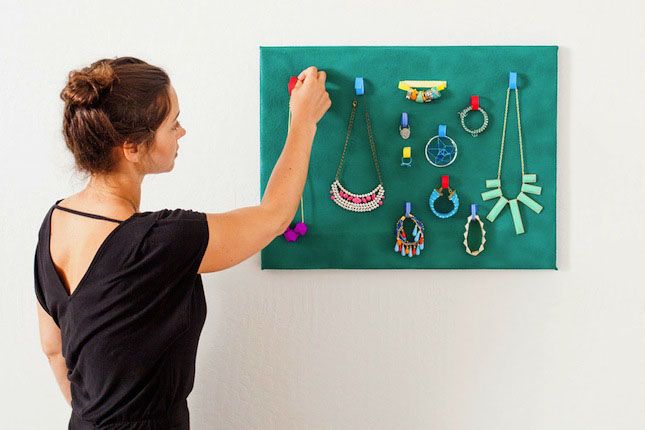
That’s it! Congratulations on your custom jewelry and accessory organizer!
Quick Fix: Control Your Rug In Four Easy Steps