When you’re trying to get to sleep, there’s nothing more bothersome than light peeking through the curtains, keeping you awake!
Whether it’s sunlight or the light from a street lamp outside your bedroom window, it can be mighty annoying when you’re trying to fall asleep.
Luckily, there is an easy solution. Read on to find out how to make blackout curtains with VELCRO® Brand Sticky Back for Fabrics Fasteners.
How to make blackout curtains – step-by-step
Follow these five easy steps to learn how to add blackout lining to curtains without sewing. A cheap way to blackout your windows without buying new curtains!
What You’ll Need
- Curtains
- Blackout material
- VELCRO® Brand Sticky Back for Fabrics Tape
- Scissors
DIY Blackout Curtains
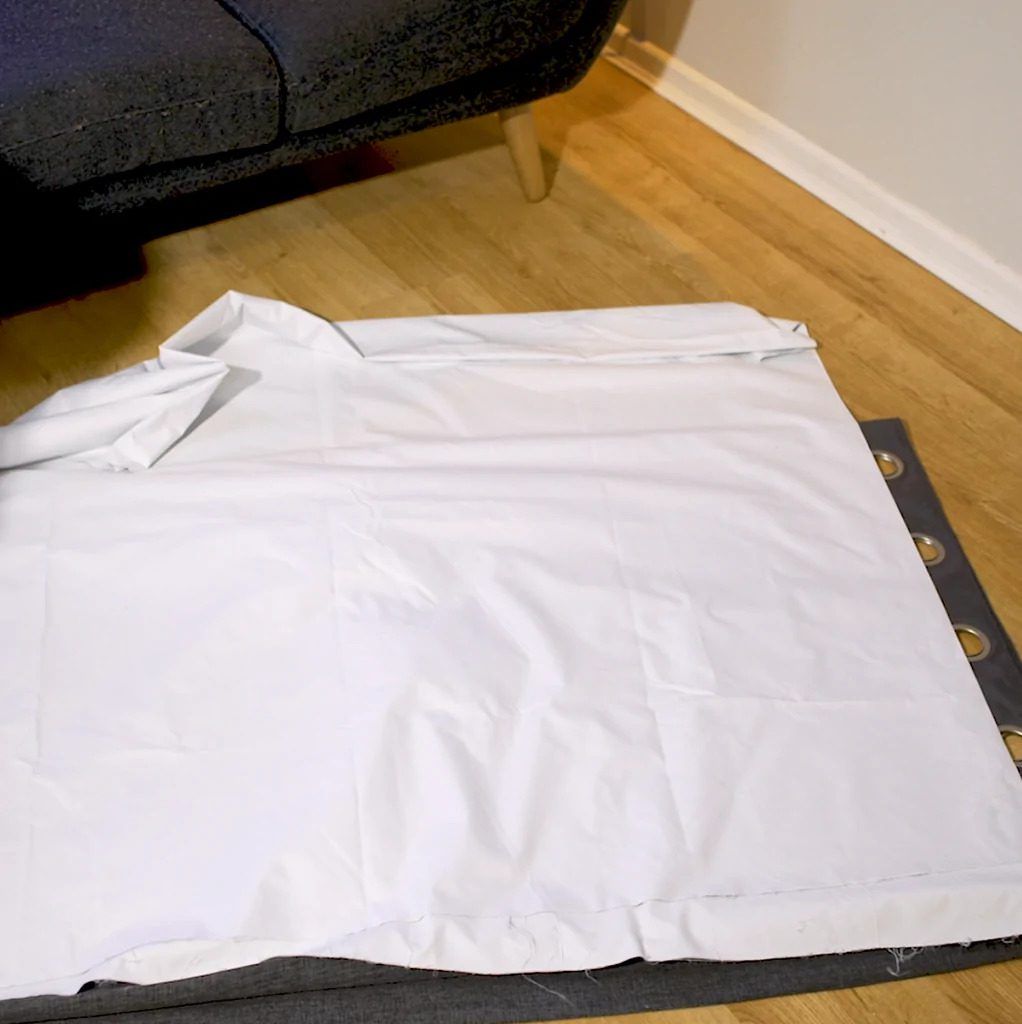
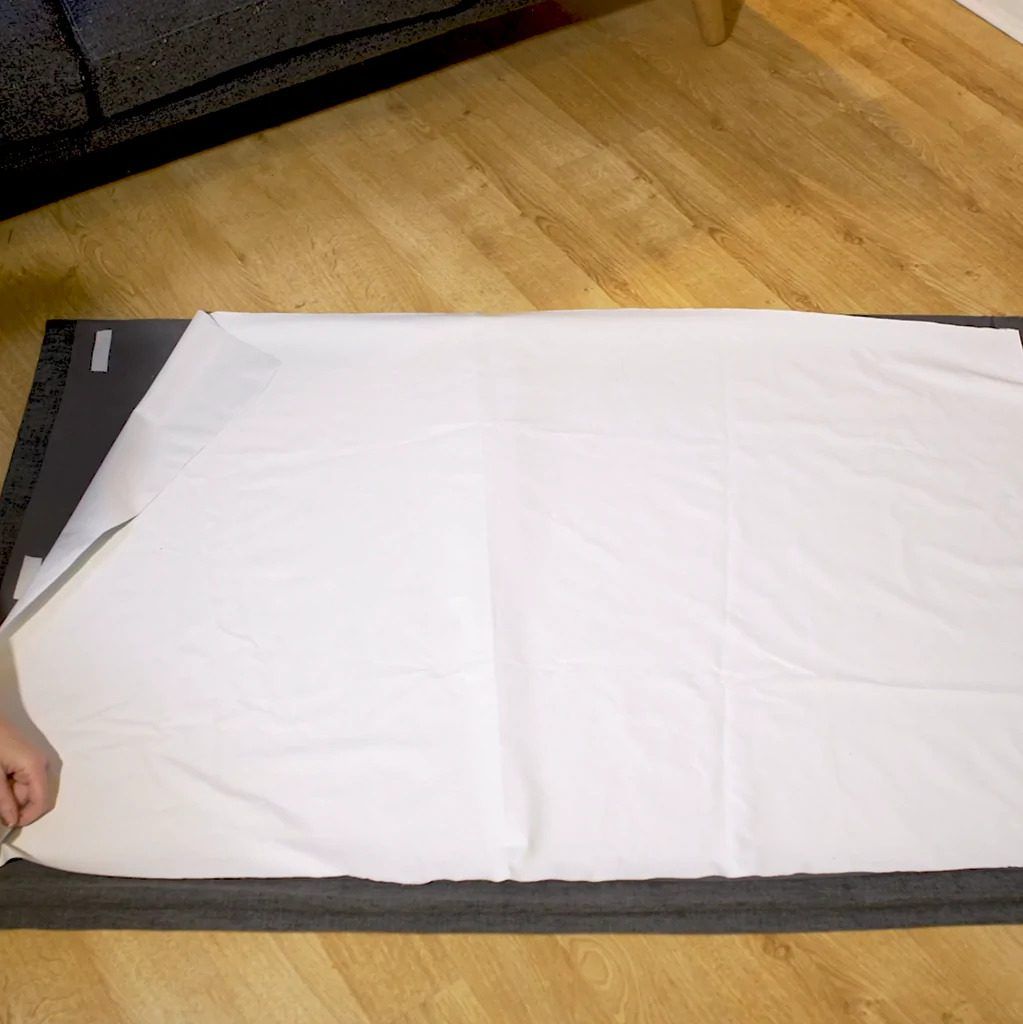
Step one – Cut and measure your blackout material. Start making your blackout curtains by laying your curtains flat on the floor with a sheet of blackout material on top. Then cut the blackout material to size.
Step two – Take a pack of VELCRO® Brand Sticky Back for Fabrics Fasteners
This self-adhesive tape is the easiest way to stick fabric to fabric. Each pack contains 1m of tape so depending on the size of your curtains, you may need a couple of packs.
Step three – Stick strips of tape along the top and bottom edges of your curtain
Next, cut strips of VELCRO® Brand Sticky Back for Fabrics Tape and stick one side of each strip to the top, bottom and sides of the blackout material.
Then stick the other side to the back of the curtains. Stick both pieces of material together and press down firmly.
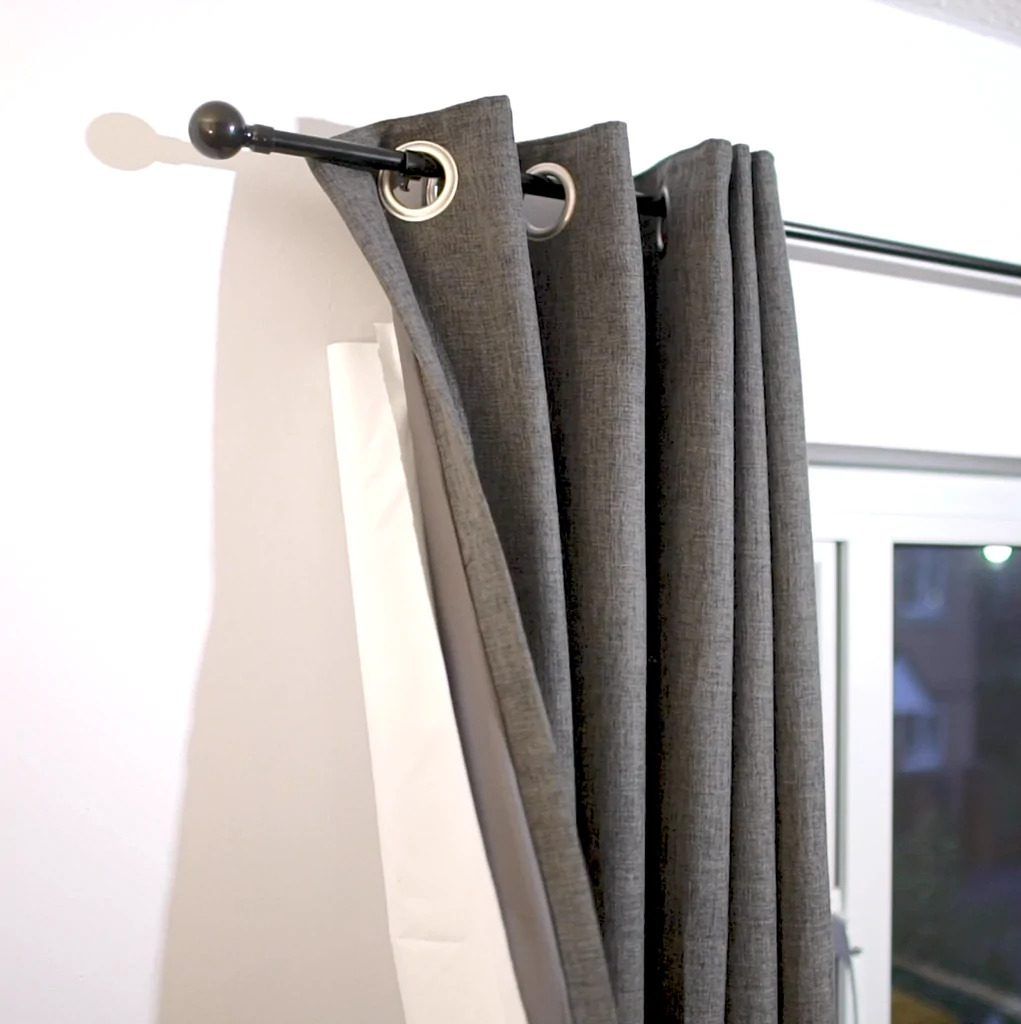
Making your own DIY blackout curtains is as easy as that – now they’re ready to hang back on your curtain rail!
And that’s it! Let us know if you have a go at making your own blackout curtains and stay on our blog for more clever ways to use hook and loop tape!


