Halloween is the perfect time to shine and show off your sewing skills! Make your friends, neighbors, and family jaws drop to the floor with this fantastic peacock costume.
This sewing tutorial will show you how to transform an everyday dress into a fantastic peacock costume using our VELCRO® Brand Sew On Fasteners. Well, what are you waiting for? Let’s create this glittery masterpiece!
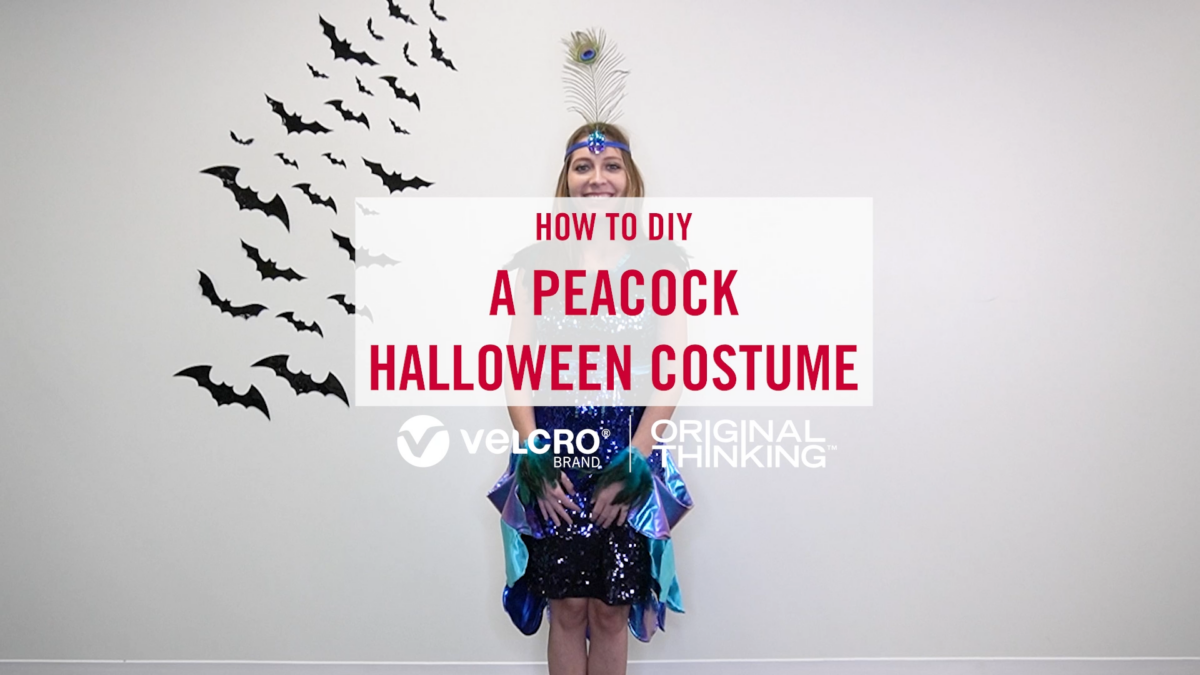
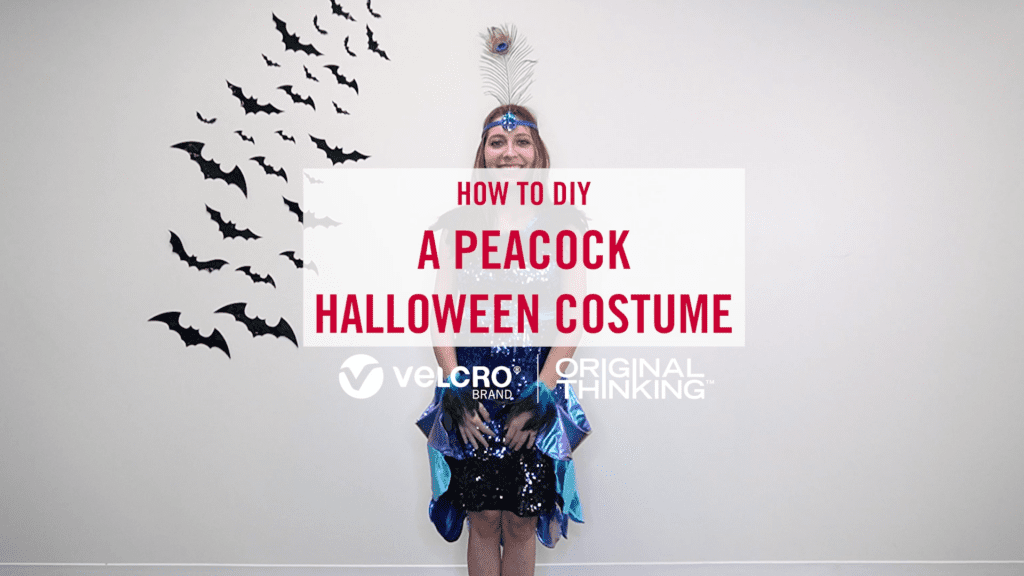
HOW TO DIY A PEACOCK COSTUME
WHAT YOU’LL NEED:
- VELCRO® Brand Sew On Fasteners
- Blue sequin dress
- 2 yards of light blue satin fabric
- 1.5 yards metallic blue fabric
- 1.5 yards oil slick metallic fabric
- 1yard 1-inch-wide ribbon
- 1-yard feather trim
- One peacock feather
- Jewel embellishment for waist
- Jewel embellishment for headband
- 18 inches of ½-inch elastic
- Pins or clips
- Fabric-friendly pen or chalk
- Hot glue gun
- Sewing machine
- Peacock Tail Pattern
FEATHER NECK PIECE
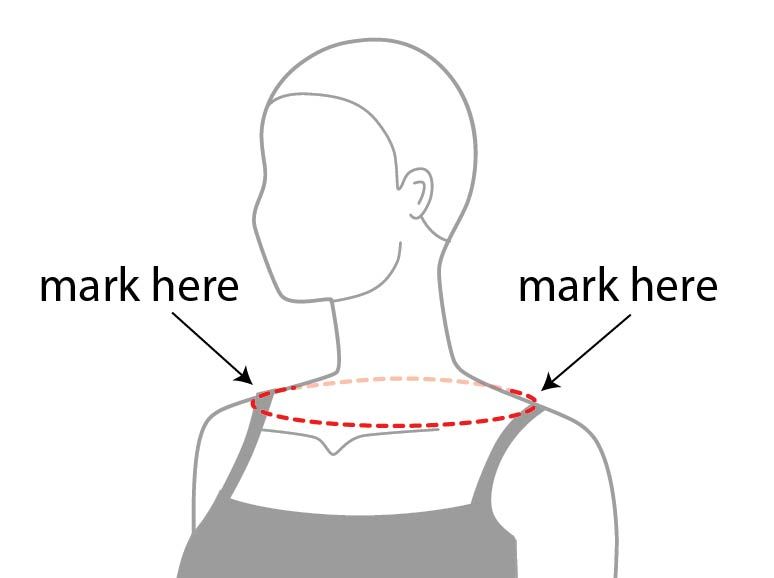
- First things first, while wearing the dress, use the feather trim to measure around your neck. It should sit just above the collarbone. Cut the trim where it meets. Then, make a small mark where the trim meets the dress’s straps.
2. Cut two 3-inch pieces of ribbon. Use a lighter to melt the edges and stop them from fraying. Cut a 1-inch piece of the VELCRO® Brand Sew On Tape. Sew each piece of the fastener to either end of the ribbon. Repeat with the second piece of ribbon.
3. Sew the center of the ribbon to the underside trim where you marked the straps. Hook this to the straps of the dress.
HEADBAND
- Use a piece of elastic and measure around your head. Then sew the two ends together.
- Hot glue the forehead embellishment and peacock feathers to the elastic.
PEACOCK SKIRT & WRIST PIECES
- Take the 1-inch-wide ribbon and cut four 4-inch pieces. Using a lighter, melt the edges again to stop them from fraying. Cut two 2-inch pieces of VELCRO® Brand Sew On Tape and sew a piece of hook and loop to the top section of the ribbon. Engage the pieces and sew the feather trim to each side. Set aside.
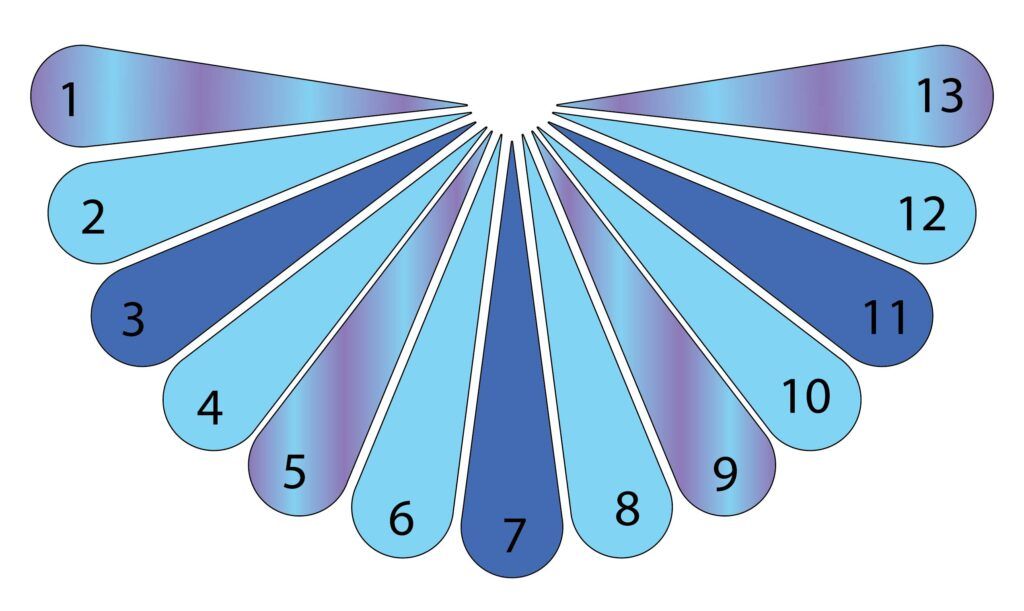
- Using the peacock tail feather pattern, cut twelve pieces of the blue satin fabric, eight pieces of the oil slick fabric, and six pieces of the blue metallic material. Pin the pieces together in the sequence shown to the right. We suggest working in sections of three. Once you’ve cut everything out, you should have two full tails (one for the front and one for the back).
3. Lay the tail pieces together, right sides facing, and clip them together. Pick up the ribbon you finished earlier and engage the fasteners. Fold the wrist piece in half and place them inside the top corner of the tail, as shown below—clip in place. Sew along the border of the tail. Leave a small section to turn out.
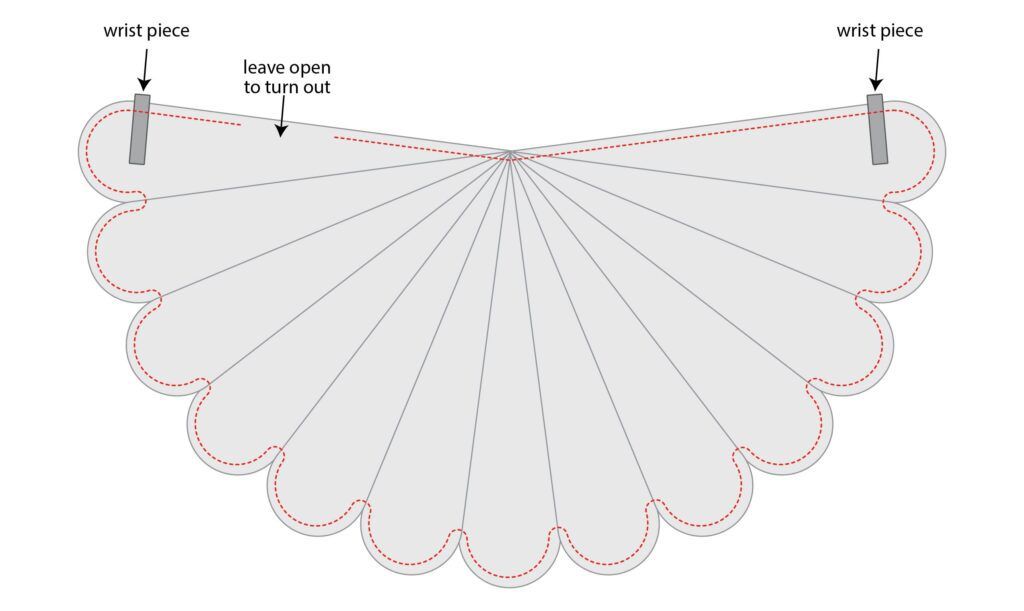
4. Turn out and press the peacock tail. Top stitch around the edges for a finished look.
5. Measure your waist. Cut two sections of 1-inch ribbon using the following equation: (waist – 2) ÷ 2 = X . Then cut 4 inches of the VELCRO® Brand Sew On Tape and sew a piece to the top of each ribbon. Engage the fastener.
6. Find the top center of the skirt (where all the “feathers” meet,) measure 3 inches to the left, and hand sew one end of the ribbon perpendicular to the skirt. Then measure 3 inches to the right of the center and hand sew along the end of the waist piece. Glue or sew the waist embellishment to the front of the skirt, where the fastener overlaps.

And that’s it! Now you’ll rock this Halloween with your newly made peacock costume!
Try this out yourself, and don’t forget to tag us on social @VelcroBrand!