Now that summer is around the corner, it’s time to open your doors and let the fresh air flow freely! Screen doors are an easy way to keep out bugs and let your home feel fresh. In this easy 5-minute or less DIY screen door tutorial, we’ll show you how to make a screen door without any tools.
Unlike mechanical, retractable screens or other types of screen doors, there’s no bulky frame to hang on the inside of your door. And the best part? This DIY project will lay perfectly flat and is easily removable!
So what are you waiting for? Let’s get started!
Table of Contents:
Manufacturers make standard screen door sizes to fit common doors. Most often doors measure 80 inches tall with widths of:
30″
32″
34″
36″
A damaged or missing screen door can be an easy fix without tools or complicated hardware. This method uses adhesive hook and loop tape applied directly to the door frame. It lets fresh air flow through, and you can remove the screen as needed.
VELCRO® Brand Fasteners are designed to adhere to clean, flat surfaces, making this solution especially useful for doors or openings where a traditional framed screen isn’t practical. See a step-by-step below!
How to Add a Screen Door to an Existing Door
Adding a screen door to an existing door can be easy. Use VELCRO® Brand hook and loop fasteners instead of traditional hardware. It’s one of our strongest fasteners for a reason! This approach uses adhesive fastener strips—one side sticks in place, while the matching side attaches to a lightweight mesh screen.
Once you apply it, you can press the screen on easily. It stays put and forms a simple barrier. Fresh air can flow in, while insects stay out. Because the screen uses hook-and-loop fasteners, you can easily remove, adjust, or replace the mesh.
You do not need hinges, tracks, or complex tools. It’s a simple, low-stress solution that makes adding a screen door feel totally doable. Even if DIY projects aren’t usually your thing.
How to Build a Screen Door: What You’ll Need
View this post on Instagram
Materials Needed
- Walk-thru screen door
- VELCRO® Brand Industrial Strength Tape
- Scissors
How to Make It
Summer is right around the corner, which means it’s time to throw open the doors and let that fresh air in.
A screen door is an easy way to enjoy the breeze while keeping bugs where they belong, outside. In this quick DIY tutorial, we’ll show you how easy installing a screen door can be!
It’s a simple screen door using VELCRO® Brand Industrial Strength Fasteners.
There’s no need for nails, screws, or staple guns.
The strong adhesive holds the screen securely, without bulky rods or hardware. Unlike mechanical or retractable screens, it lays flat against the doorway. It can be removed just as easily.
- Cut
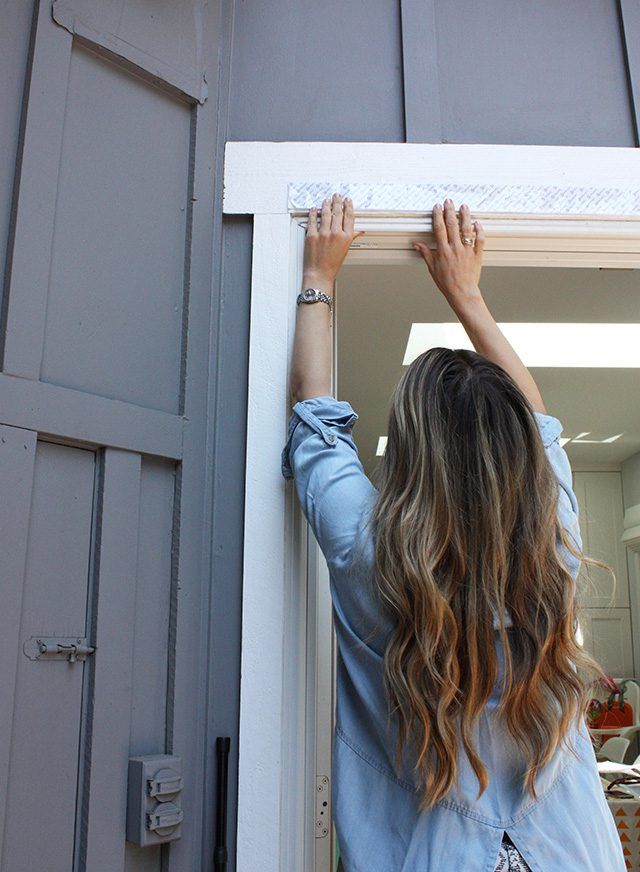
First things first, cut a piece of VELCRO® Brand Industrial Strength Tape to the width of your door. Pro tip: Make sure to get accurate measurements before you start cutting!

- Attaching The Fastener
Next, adhere the fastener to the outside of your door frame and the screen. This is how you’ll mount your screen door to the frame.
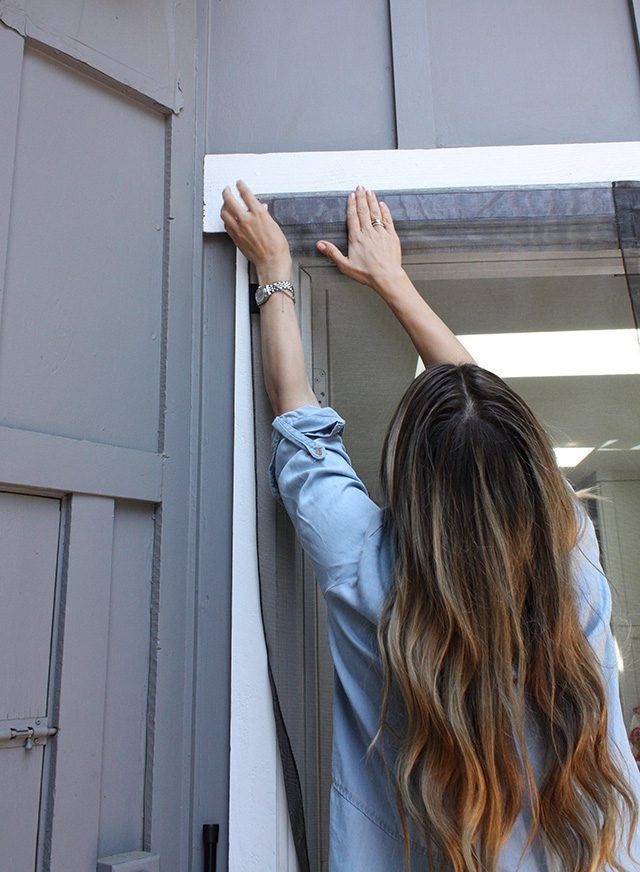
- Attaching A Screen Door
Now it’s time to attach the screen to the threshold, line up the edges, hang and position it to your liking. PRO TIP: If there’s excess screen, you can trim along the edge to reach your desired length.
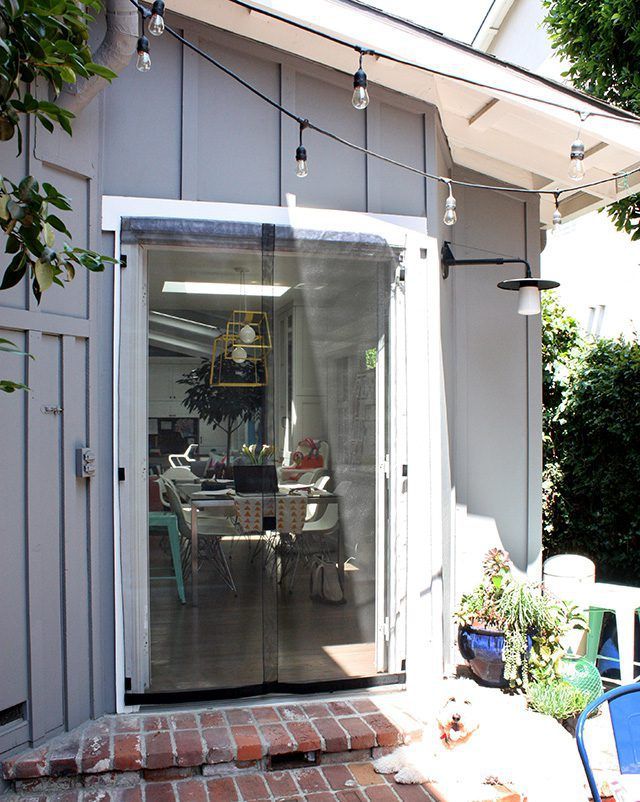
- Enjoy!
And that’s it! Enjoy leaving your door open all summer long with your new walk-thru screen door!
Now you know how to build a cheap DIY screen door! We can’t wait to see how you make your own DIY screen door, and when you do, don’t forget to tag us @VELCROBrand!