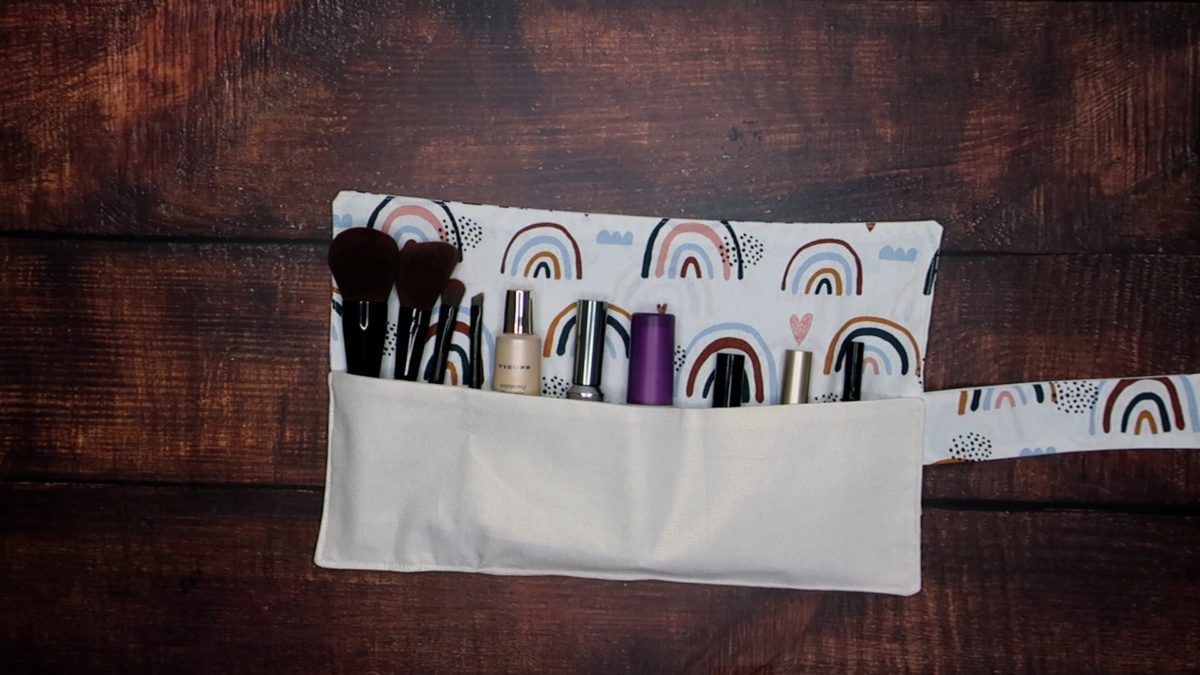
Make a sustainable and fully customizable case for your makeup with a DIY reusable makeup roll!
In this easy sewing tutorial, we’ll show you how to make a reusable makeup roll with our VELCRO® Brand Sticky Back for Fabrics tape!
Perfect for protecting your makeup bristles, this DIY makeup roll can be washed and re-used time after time. Use it for a variety of brushes, bottles and even pencils, the makeup roll can fit all your essentials.
How To Make A DIY Makeup Roll
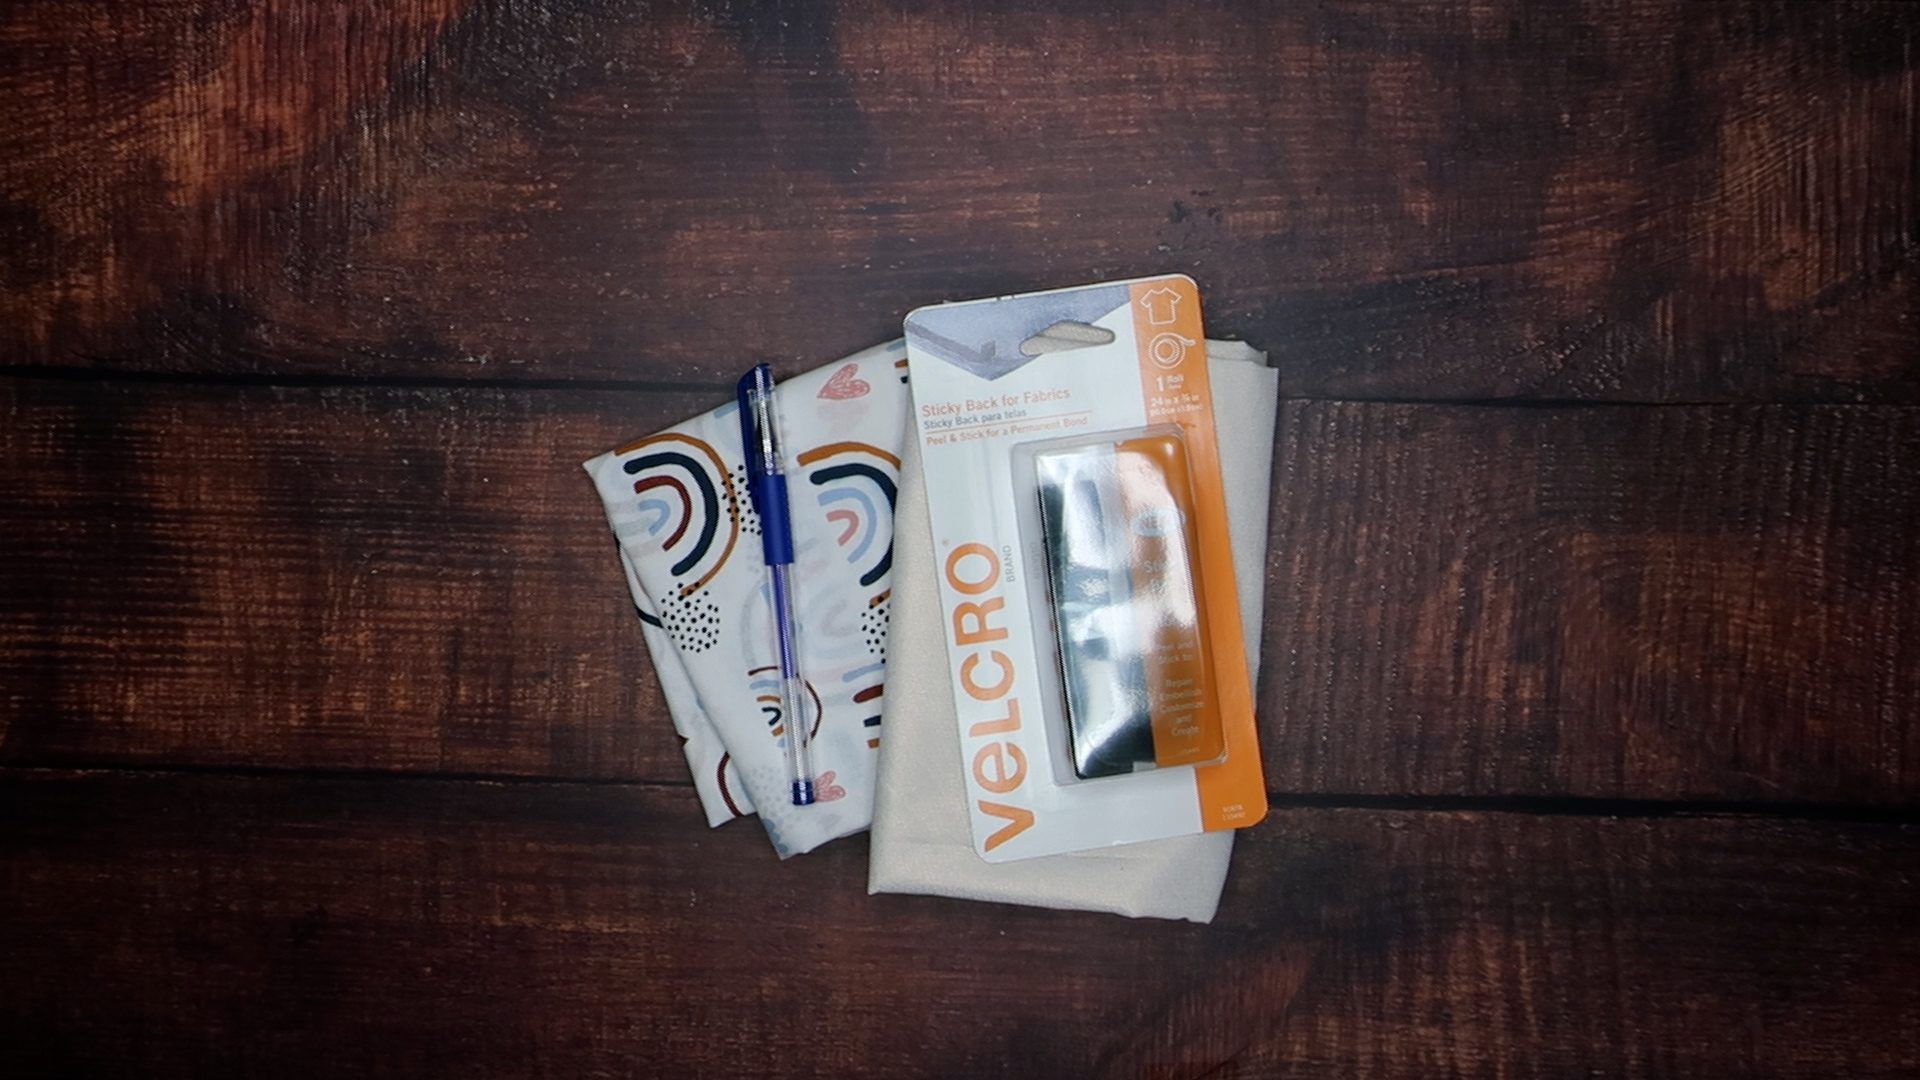
What you’ll need
- 1 full yard of fabric (we used a ½ yard of 2 different colors)
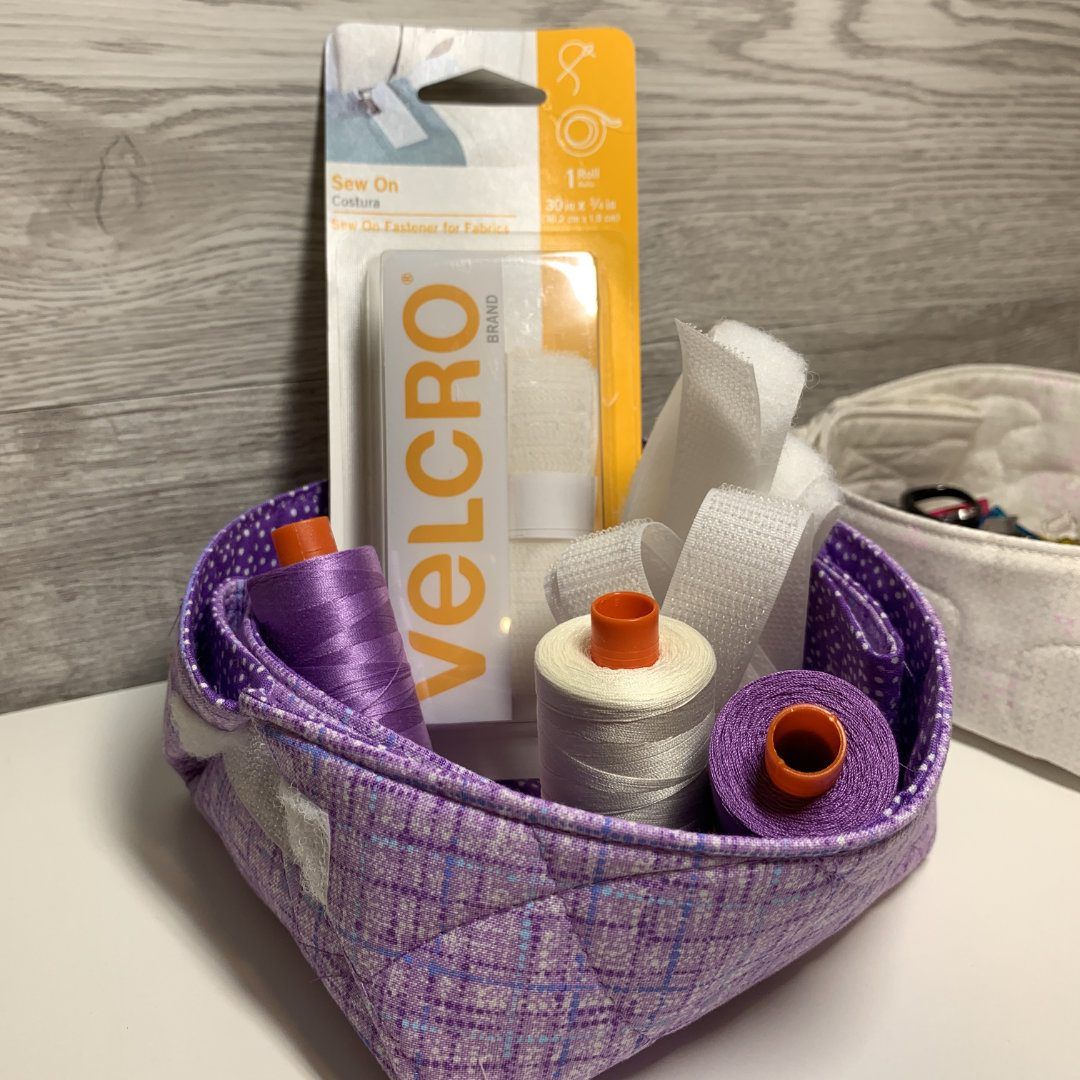
- VELCRO® Brand Sticky Back For Fabric Tape
- Clips or Pins
- Scissors
- Iron
- Sewing Machine and thread
What to do:
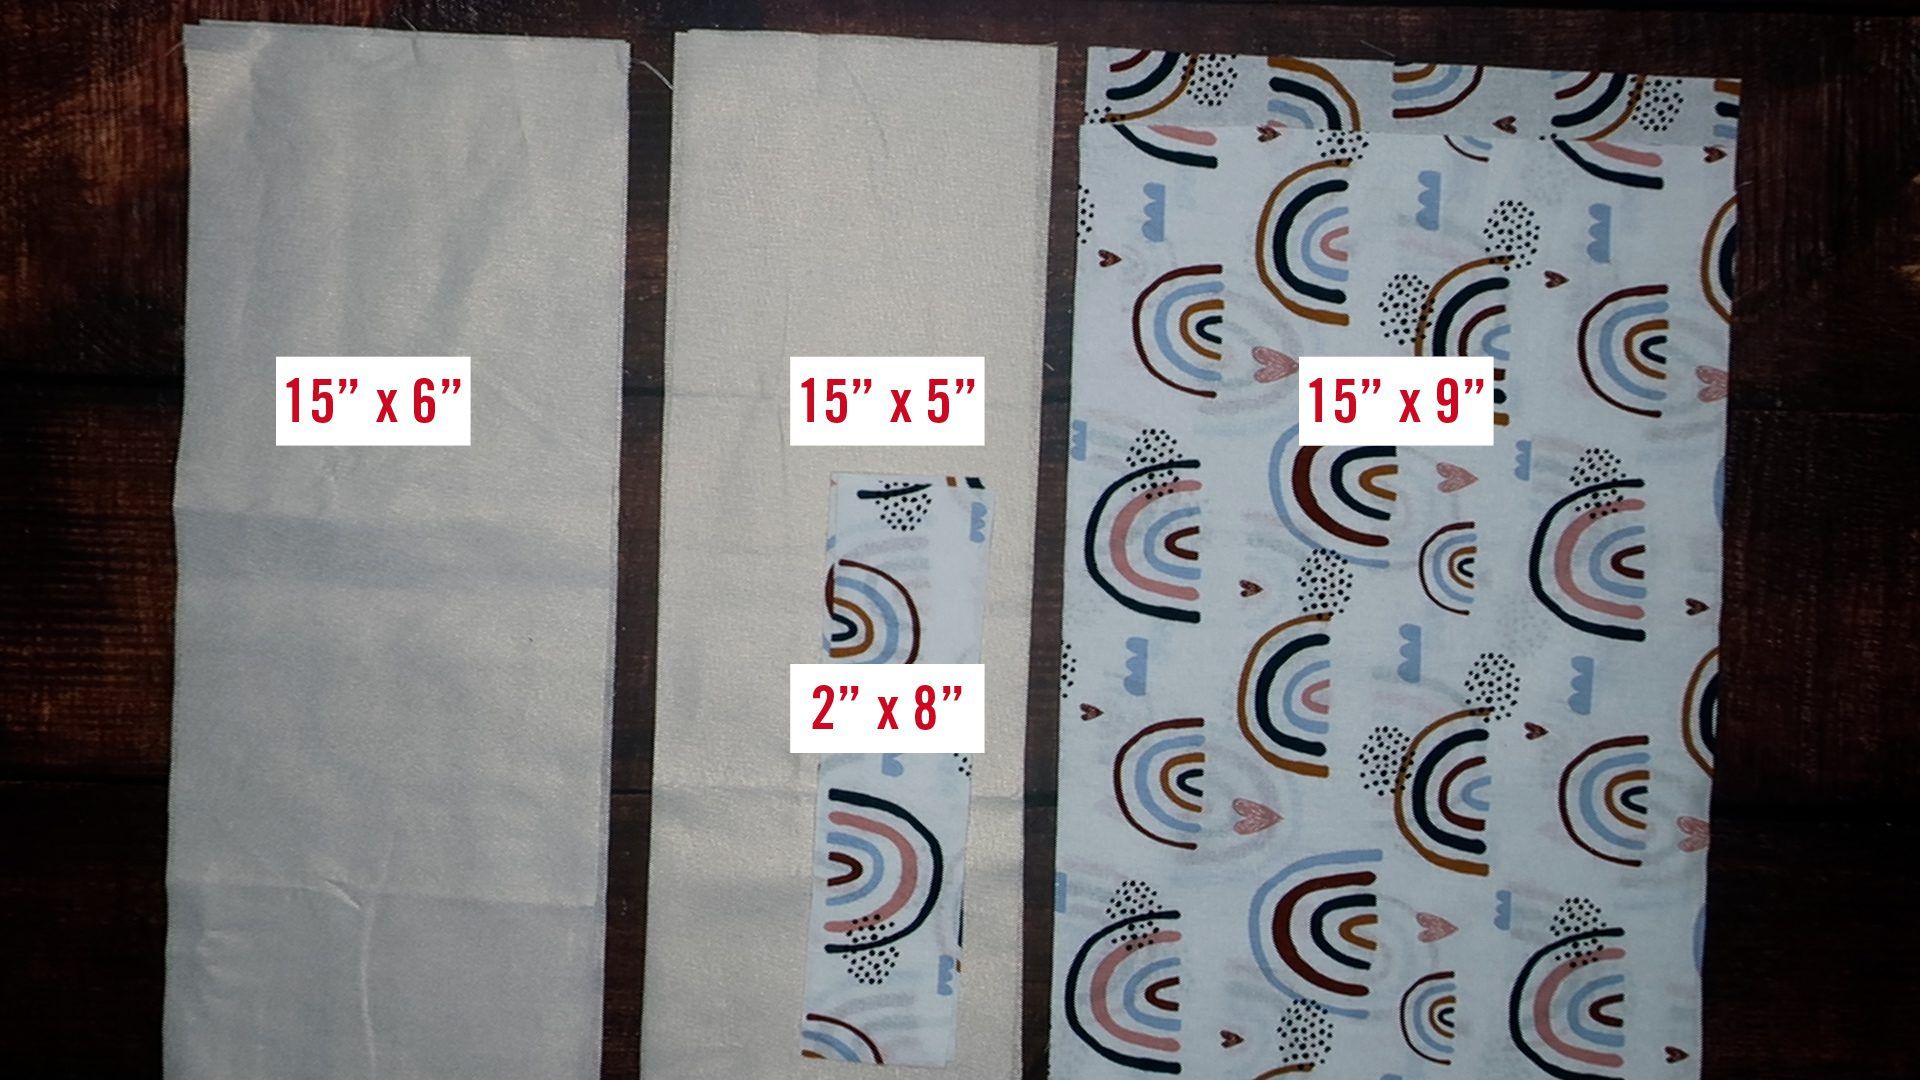
Start by choosing your fabric. You can pick one or two pieces of fabric. If you choose two different materials, each fabric should be a ½ yard. Cut two pieces of each size: 15” x 9”, 15” x 5”, 15” x 6”, and 2” x 8”.
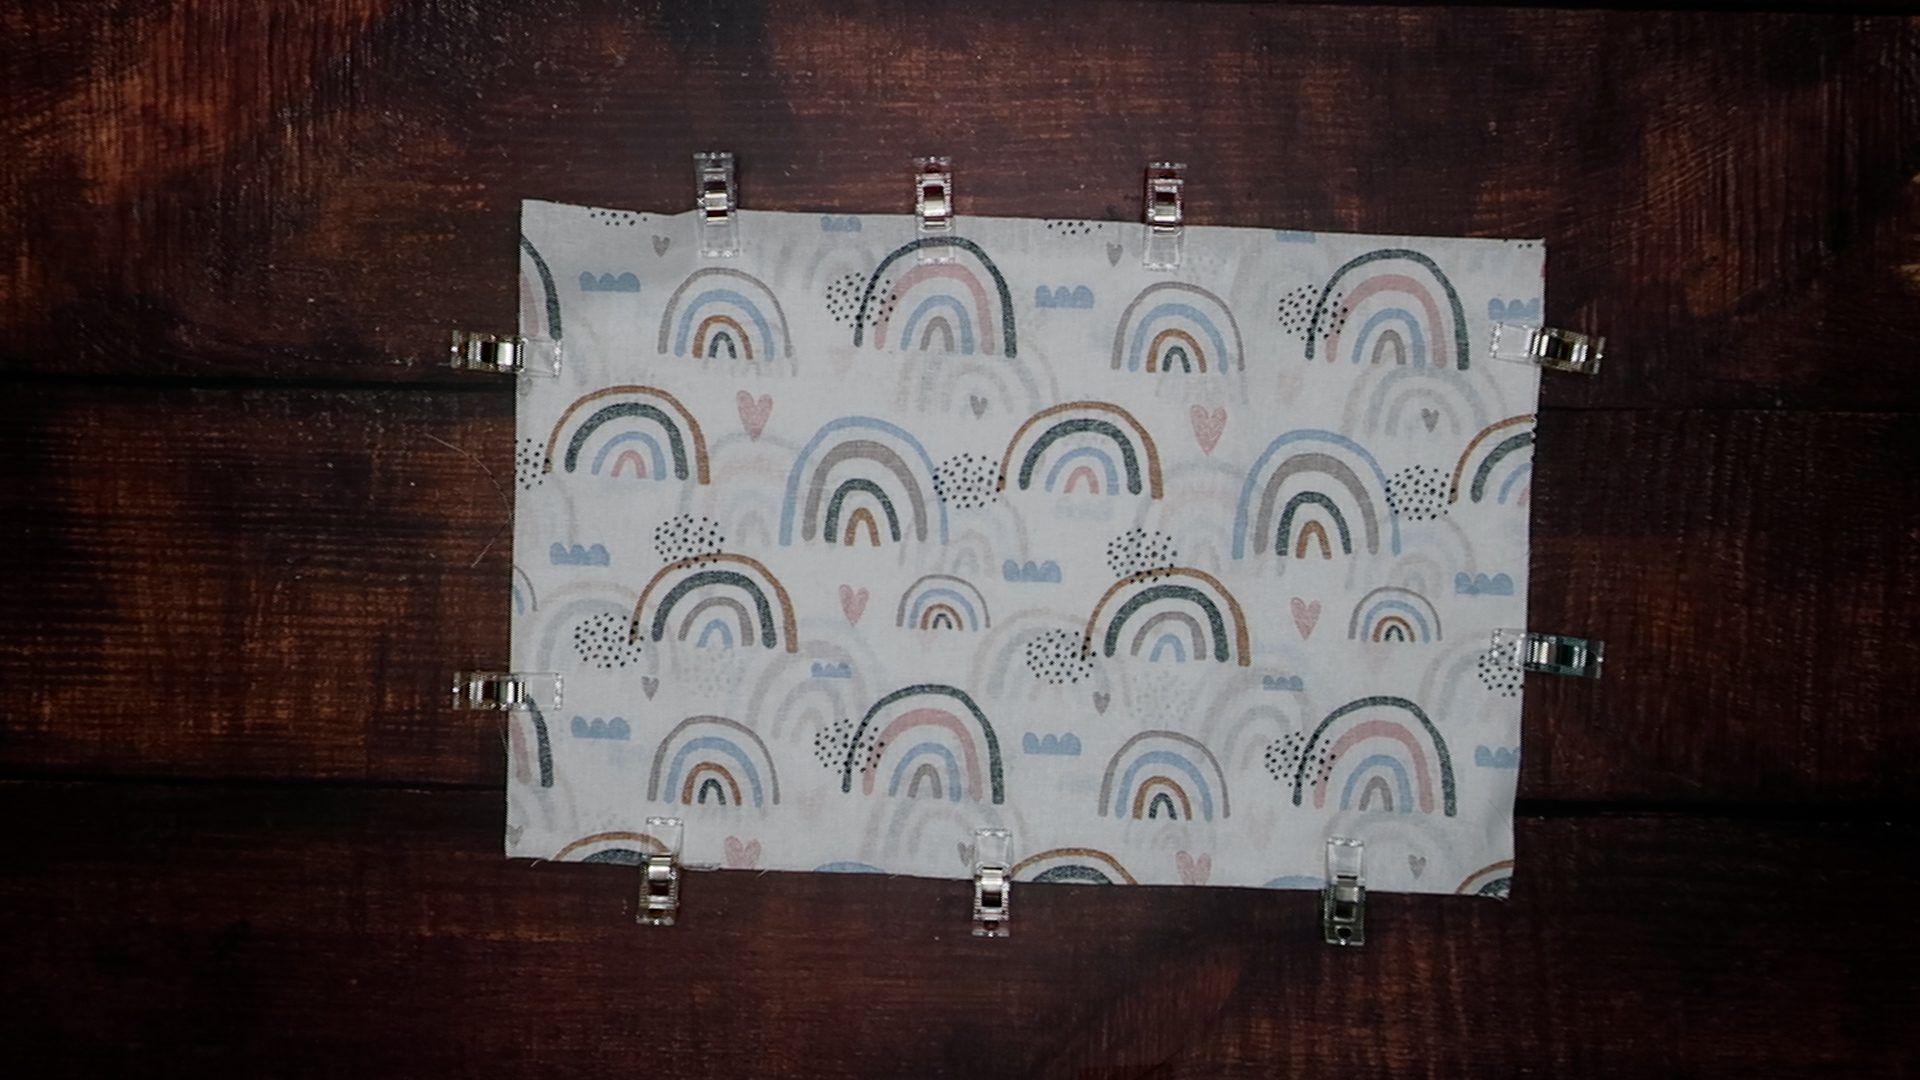
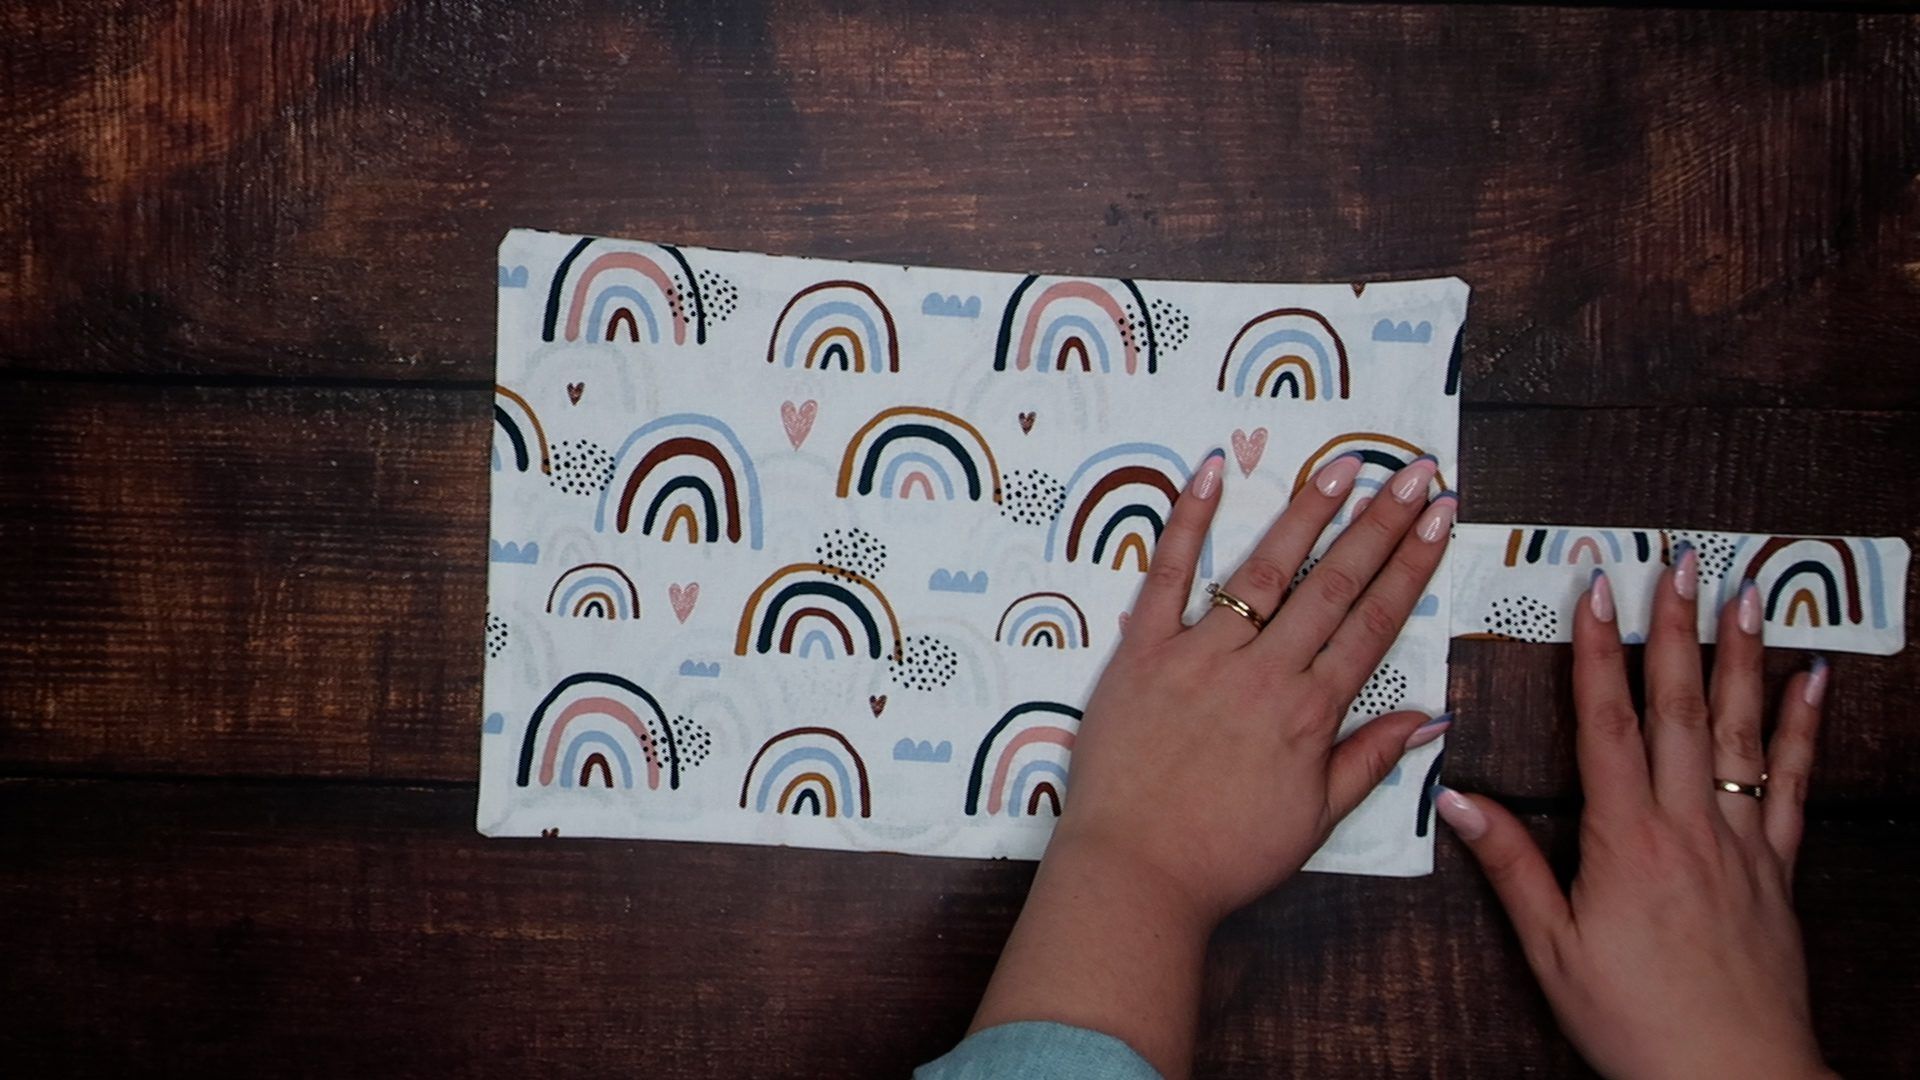
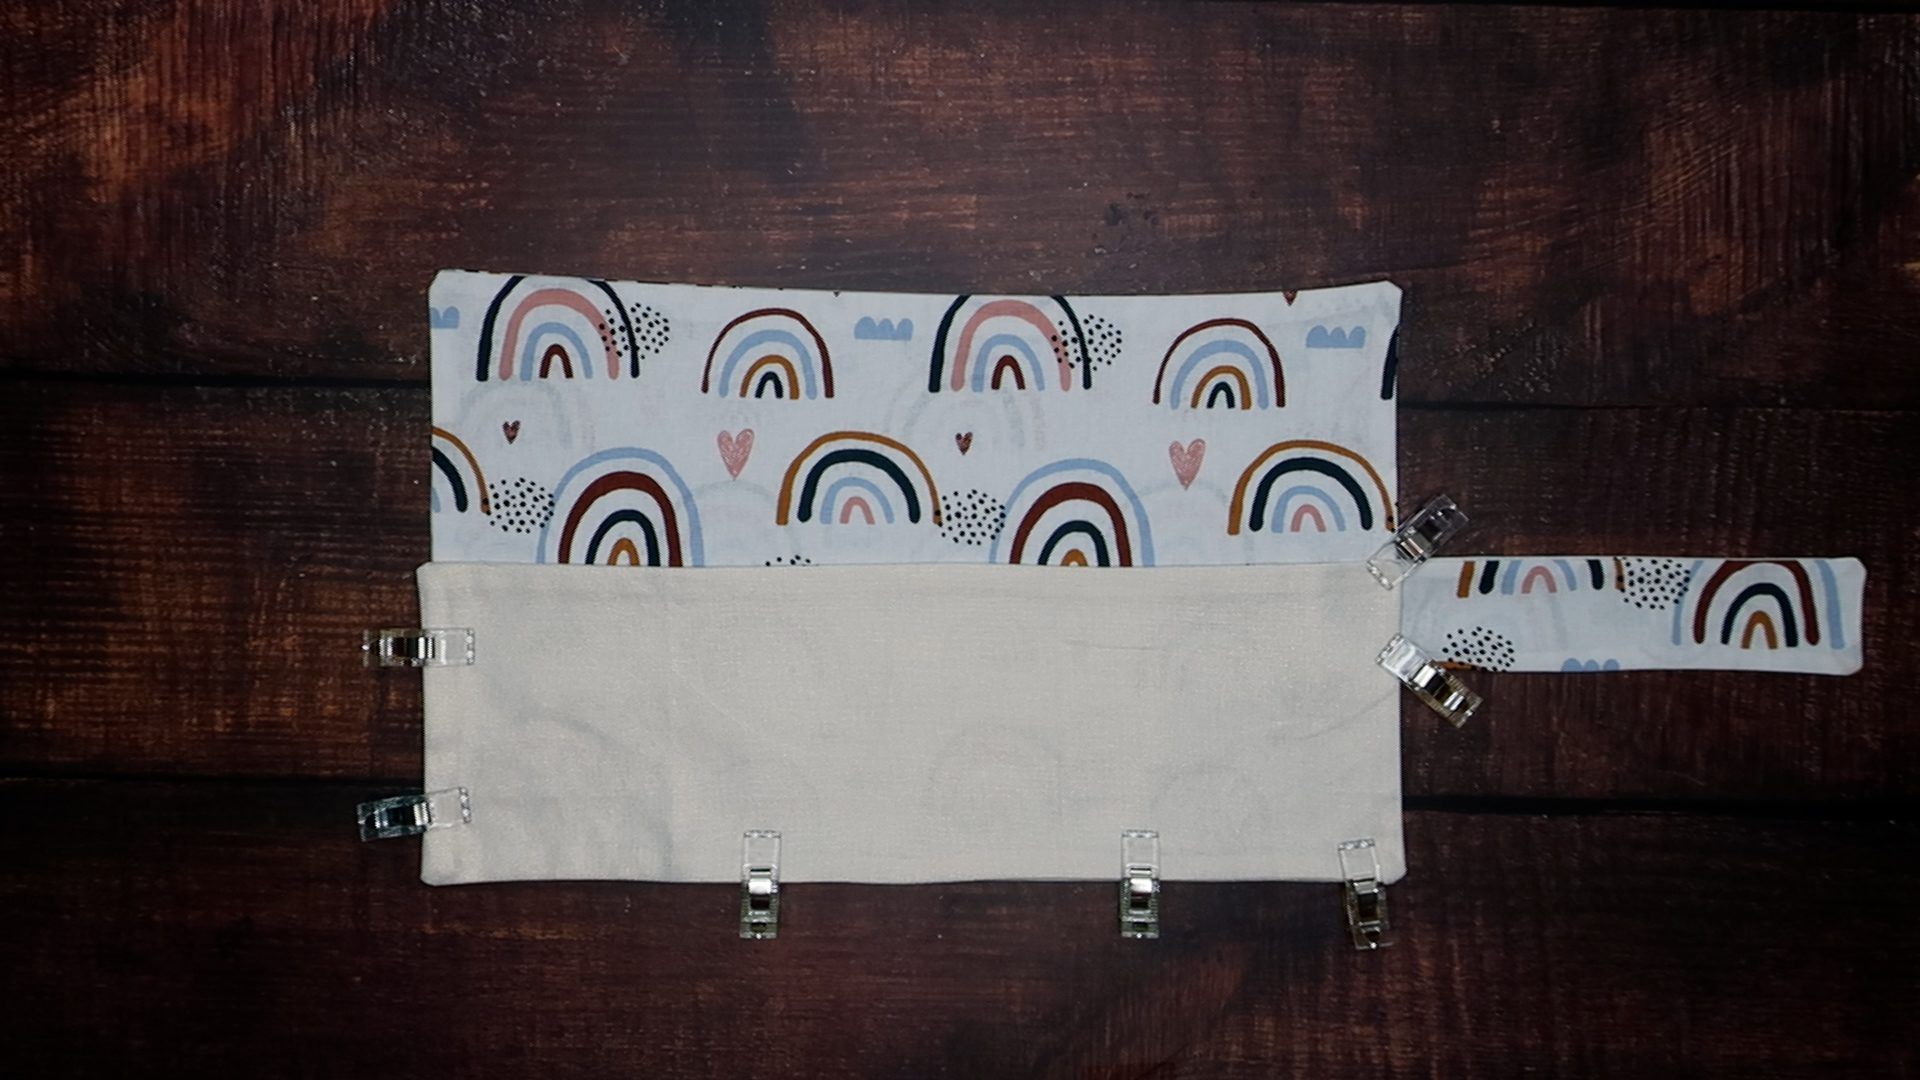
Next, match each size together with the right side of the fabric touching. You’ll want to pin or clip the fabric in place.
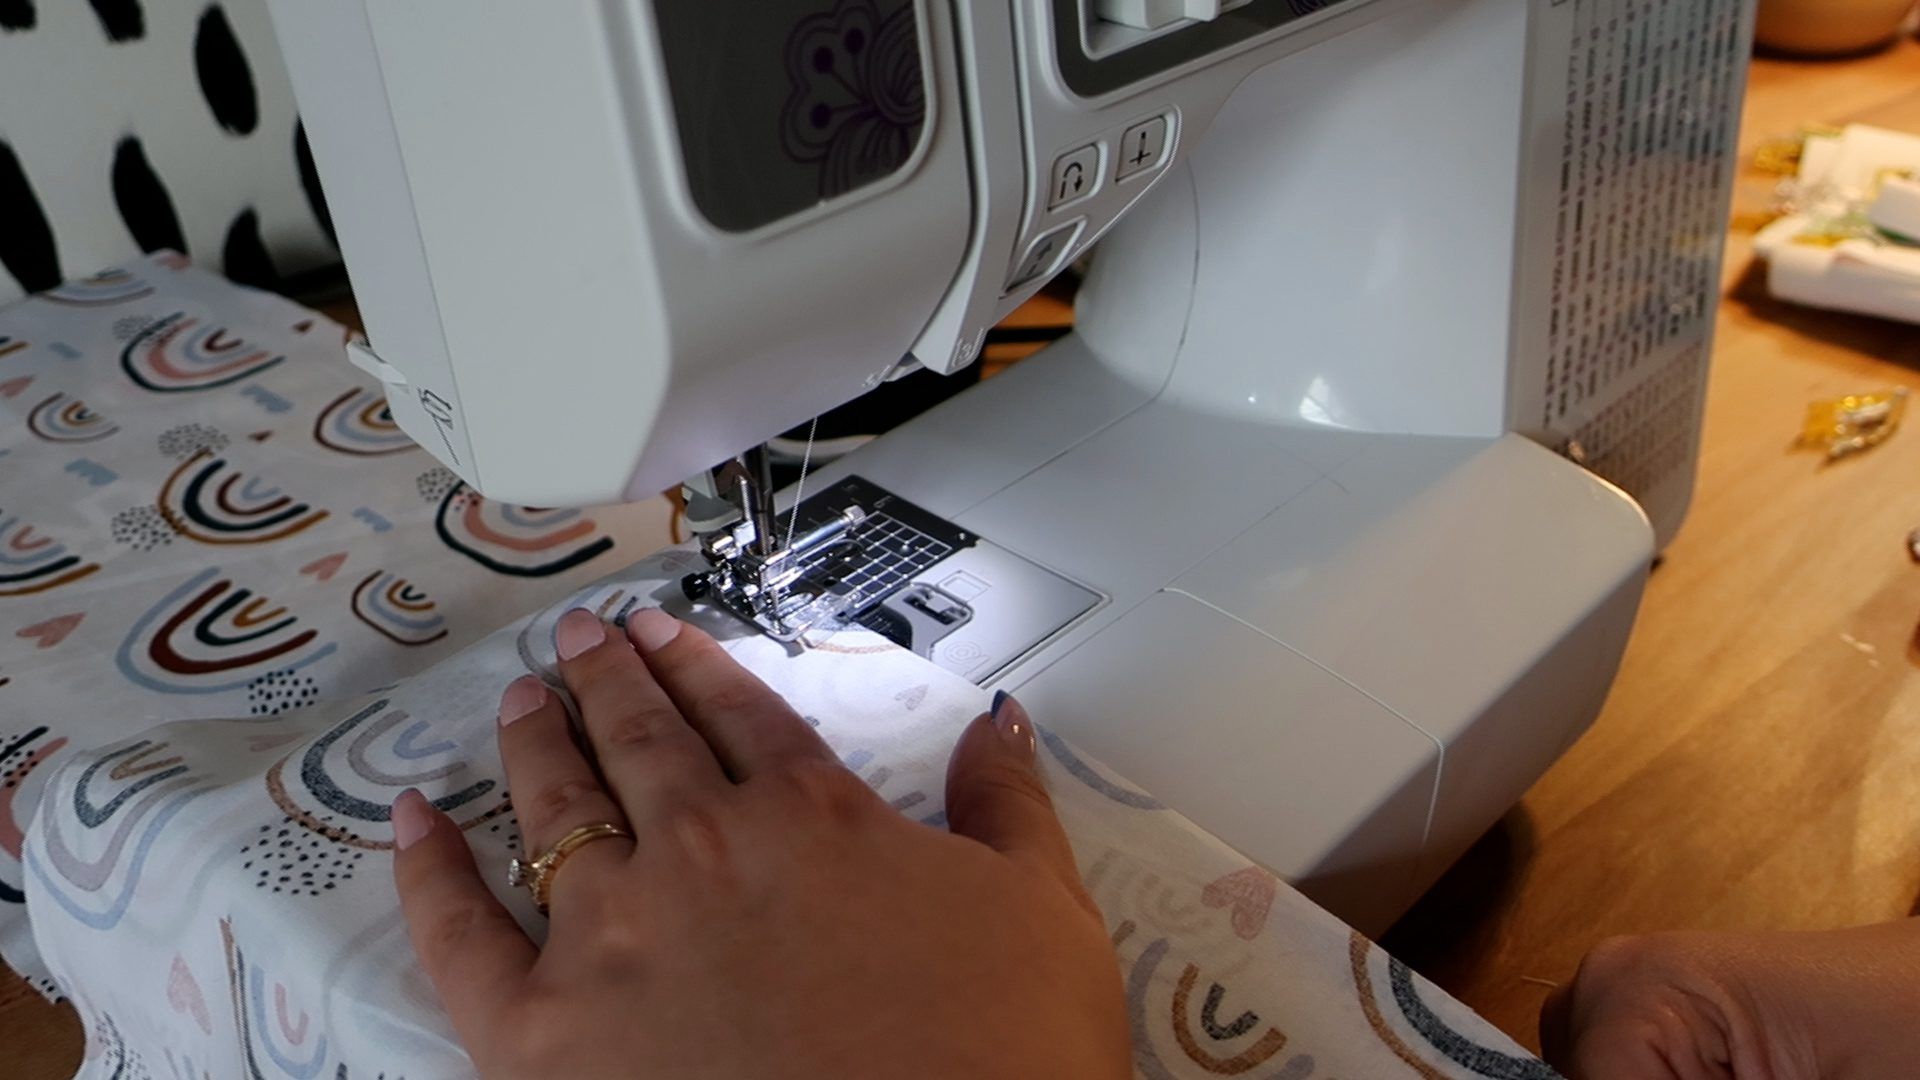
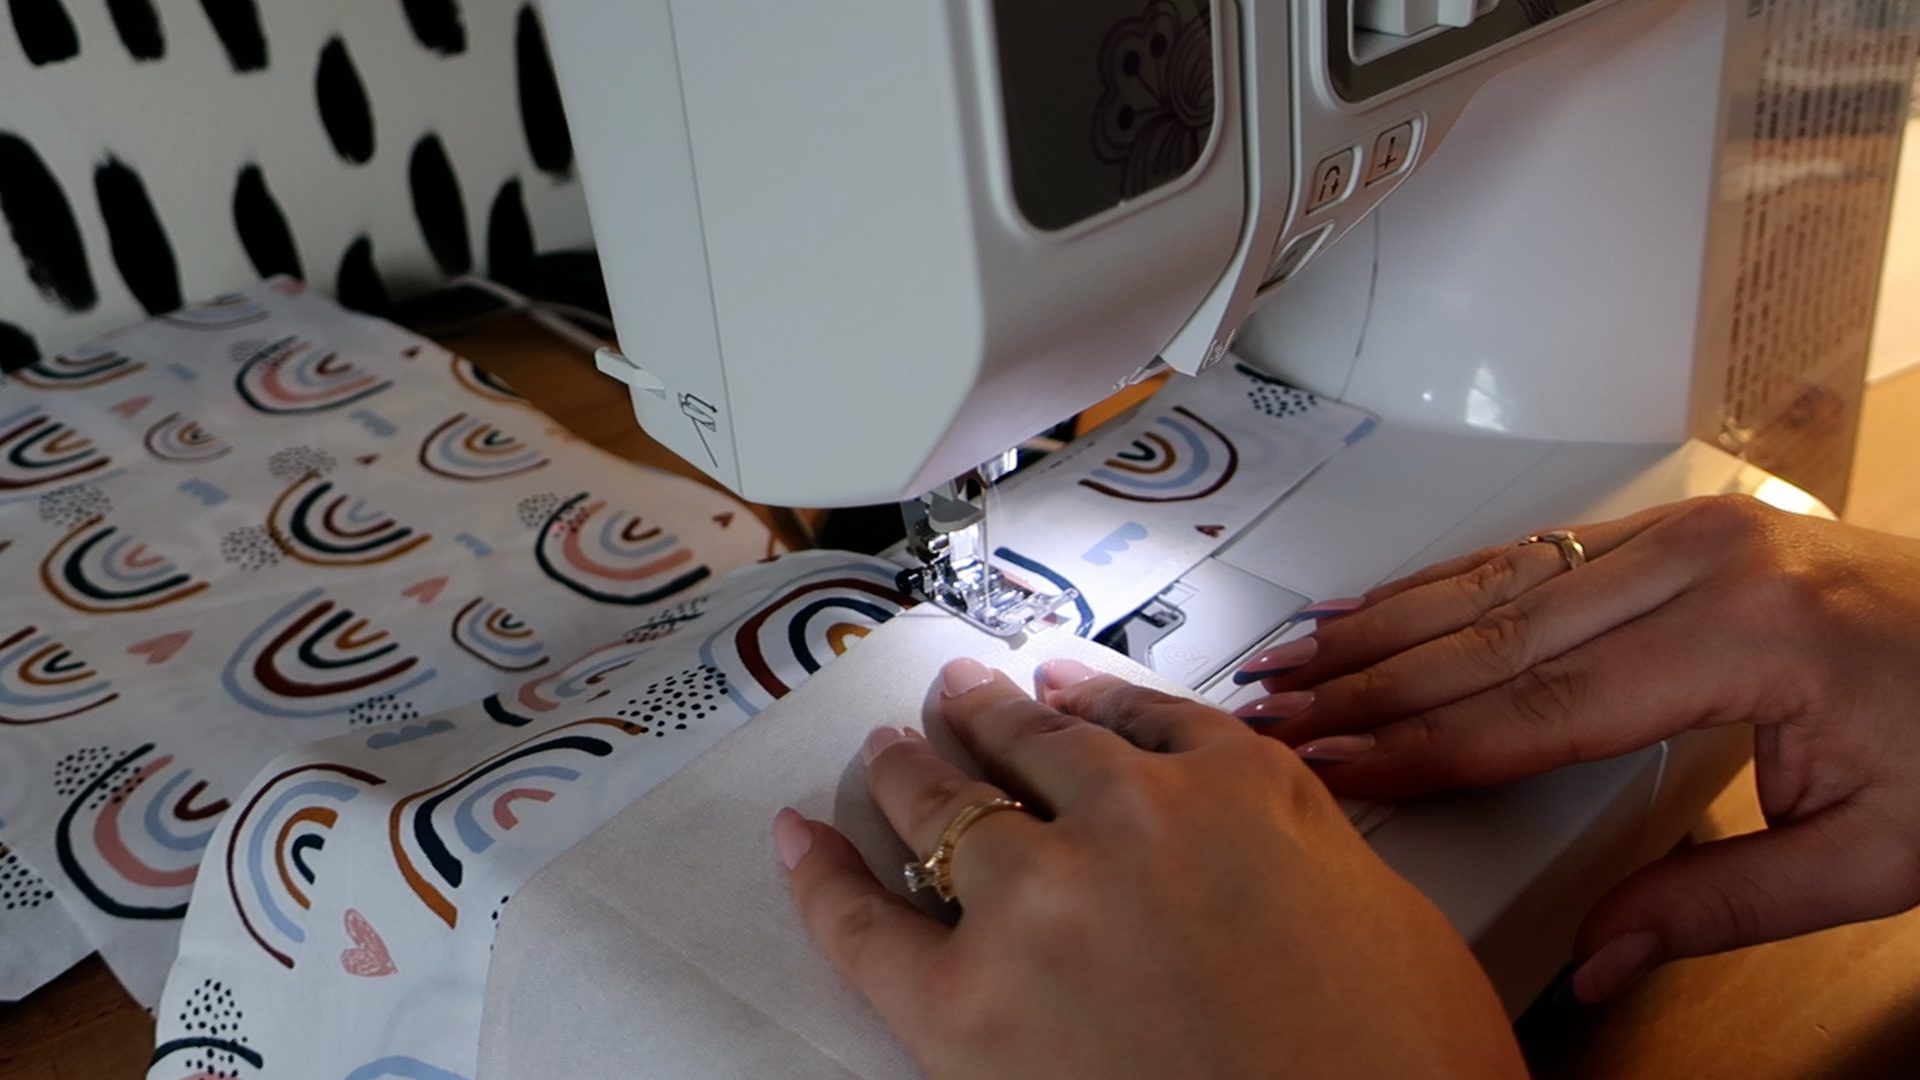
Now it’s time for the fun part! Sew around each piece, leaving a ¼” inseam. While sewing the outer section of the pouch, take the largest piece (15” x 9”) and leave a small 3” gap on the right side. This is where your strap will be sewn in, so make sure the gap is placed in the middle.
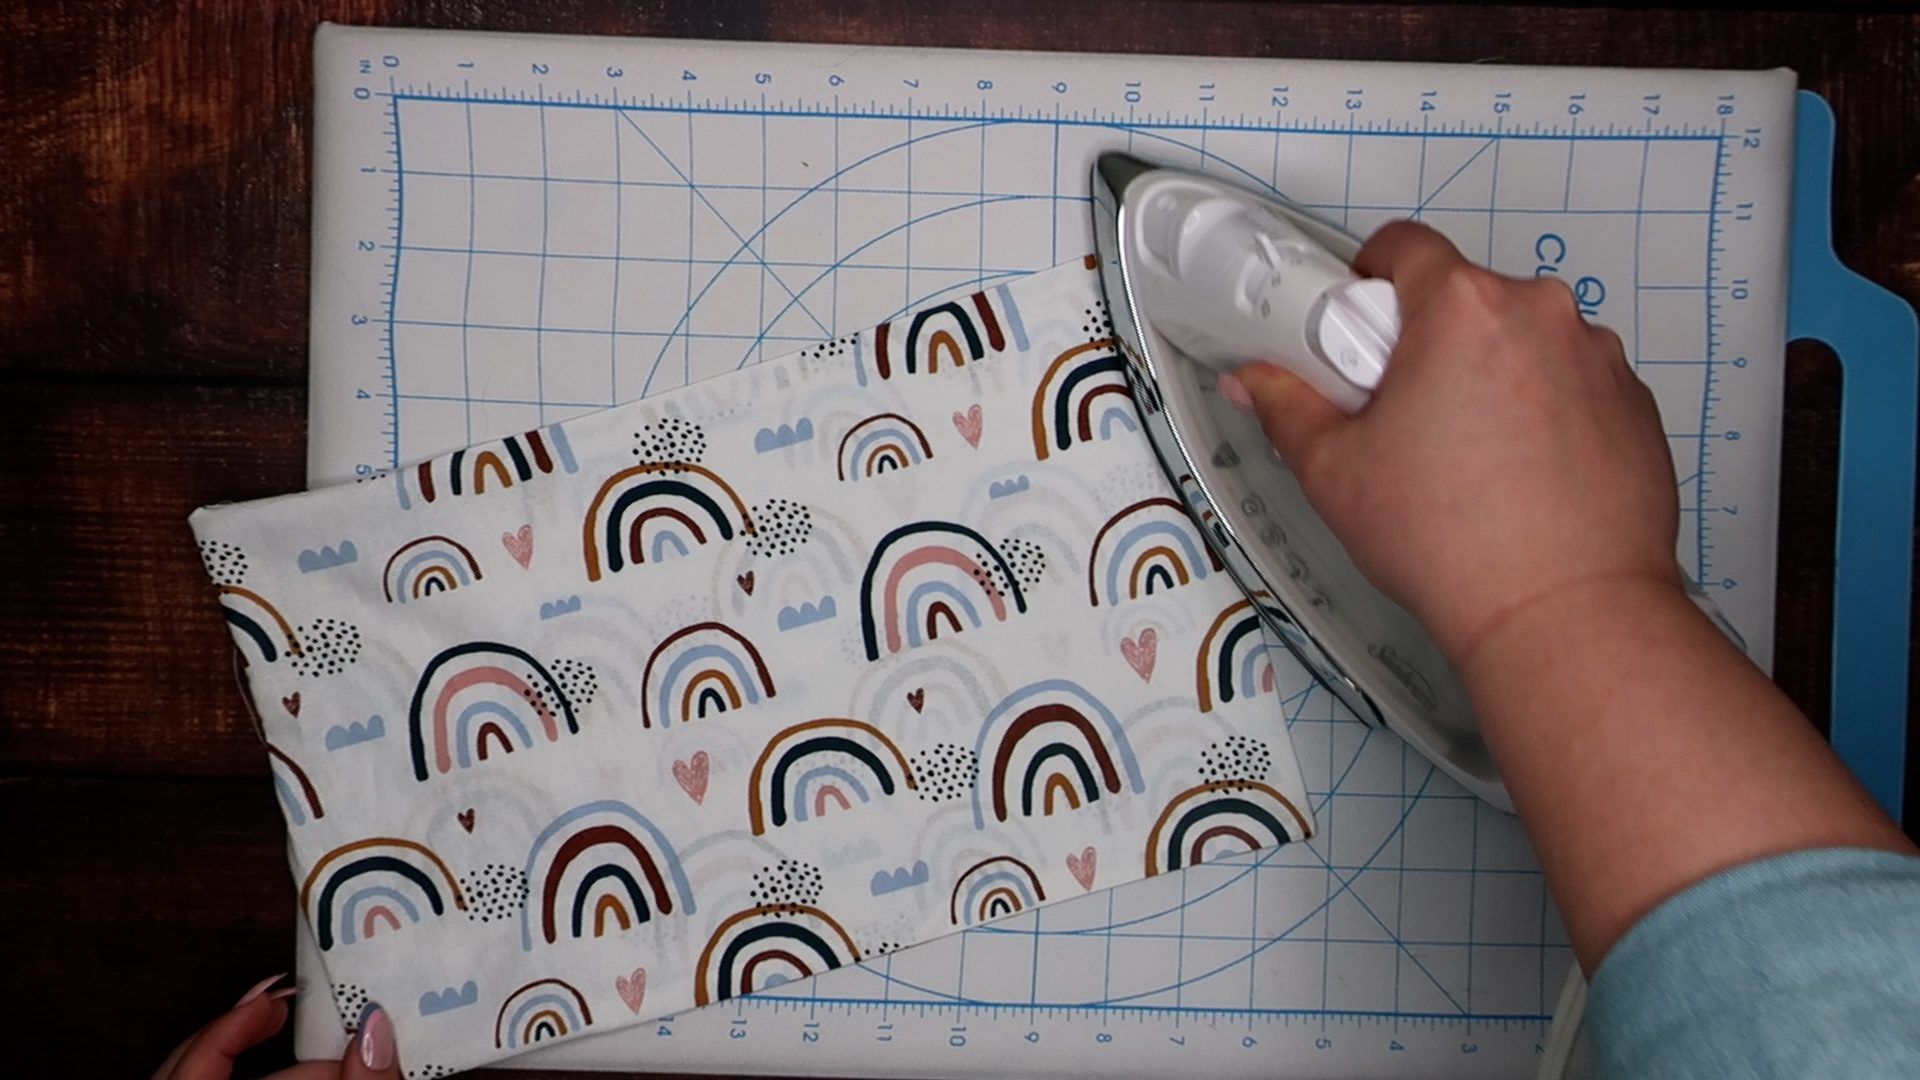
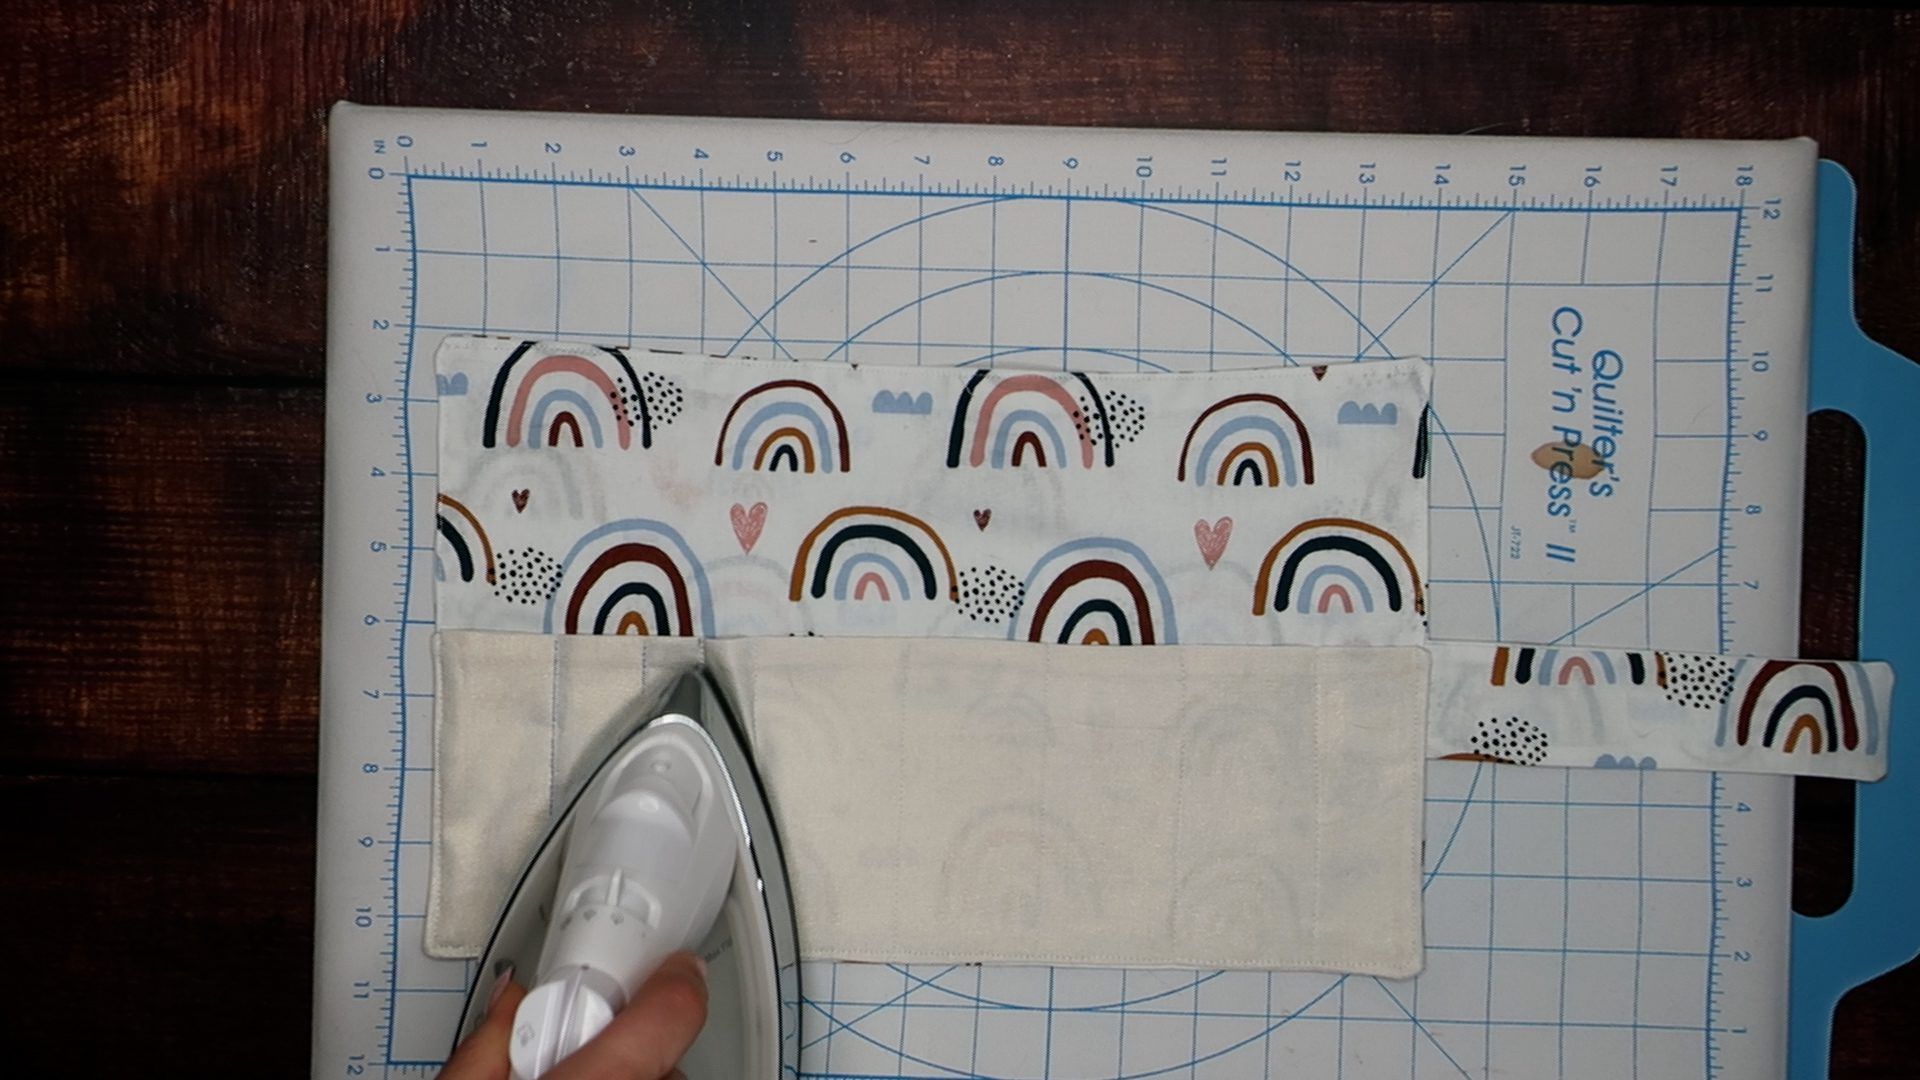
Turn out each piece and iron.
Next, place the strap (2” x 8”) piece into the gap left on the outer section of the pouch (the 15” x 9” piece).
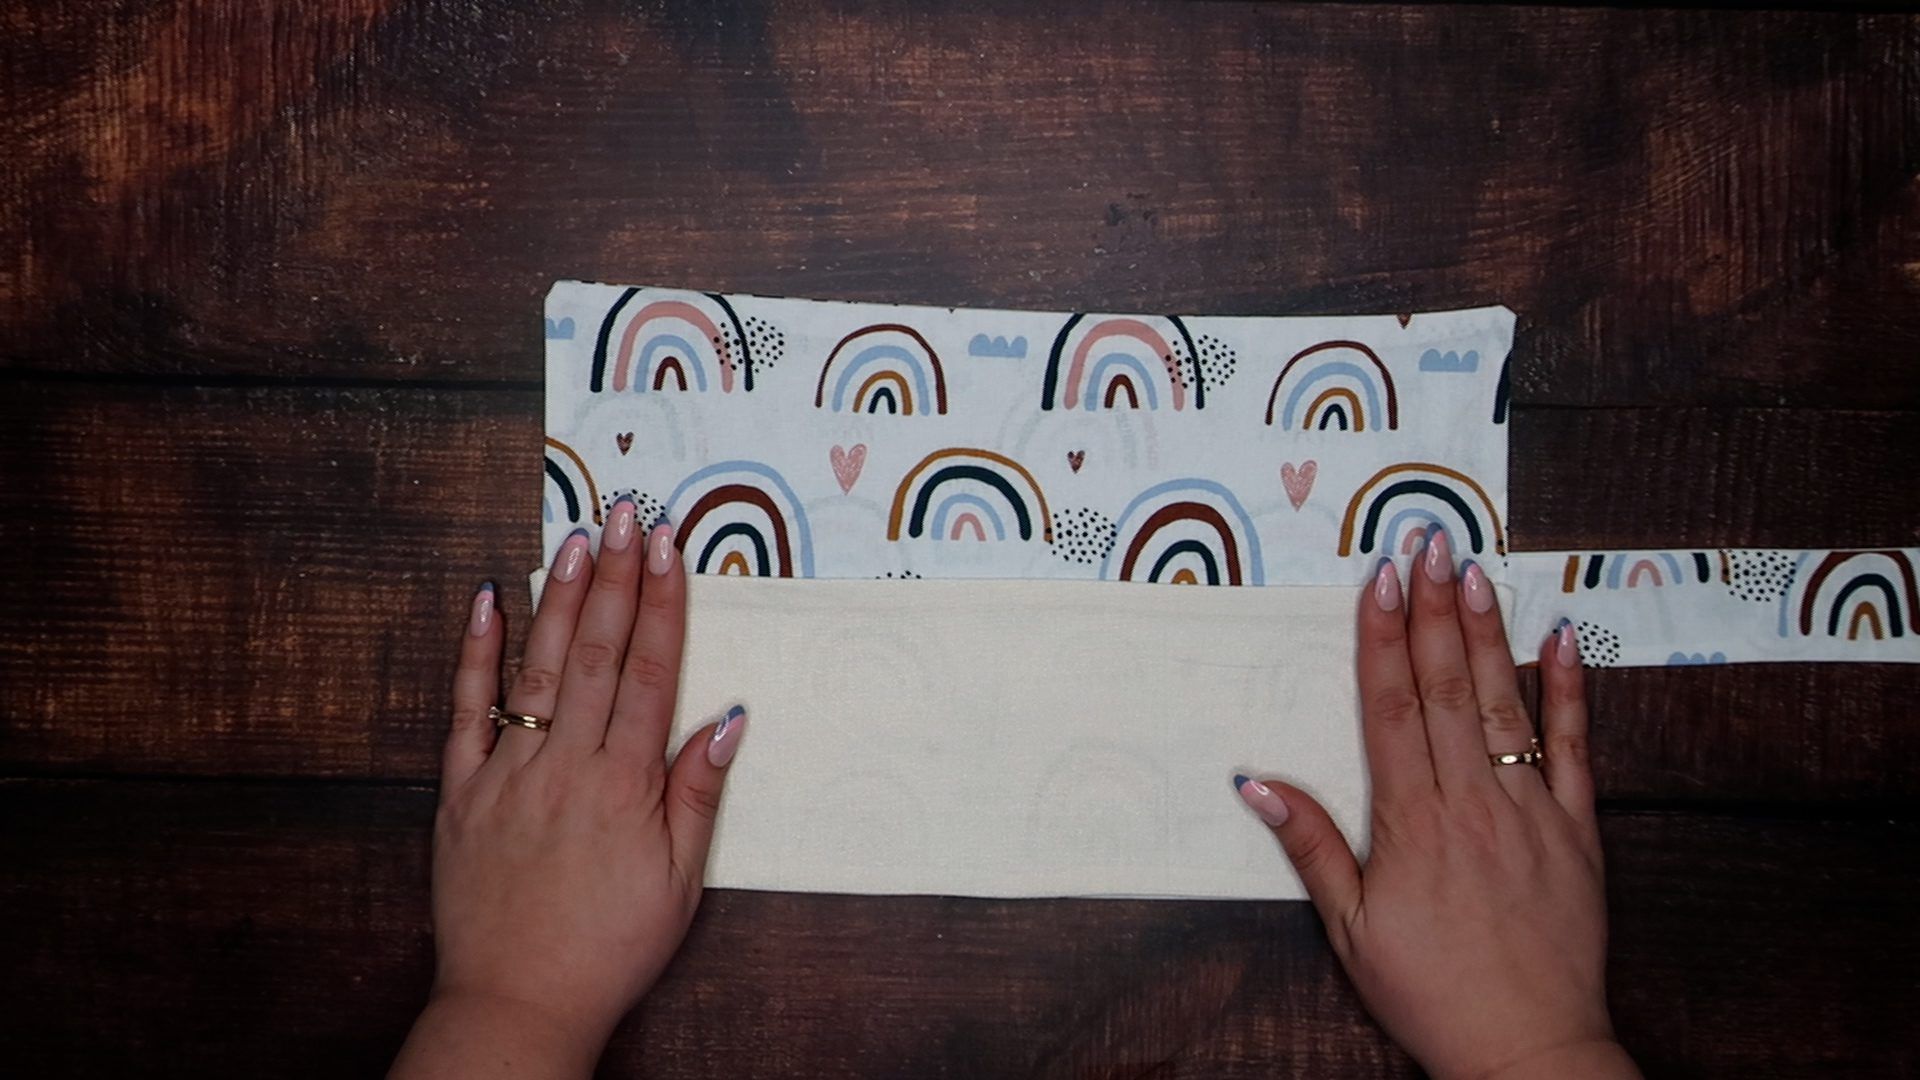
Now align your 15” x 5” piece with the outer section of the roll. This will create your pockets. Then topstitch around the bottom and the sides of the 15” x 9” piece.
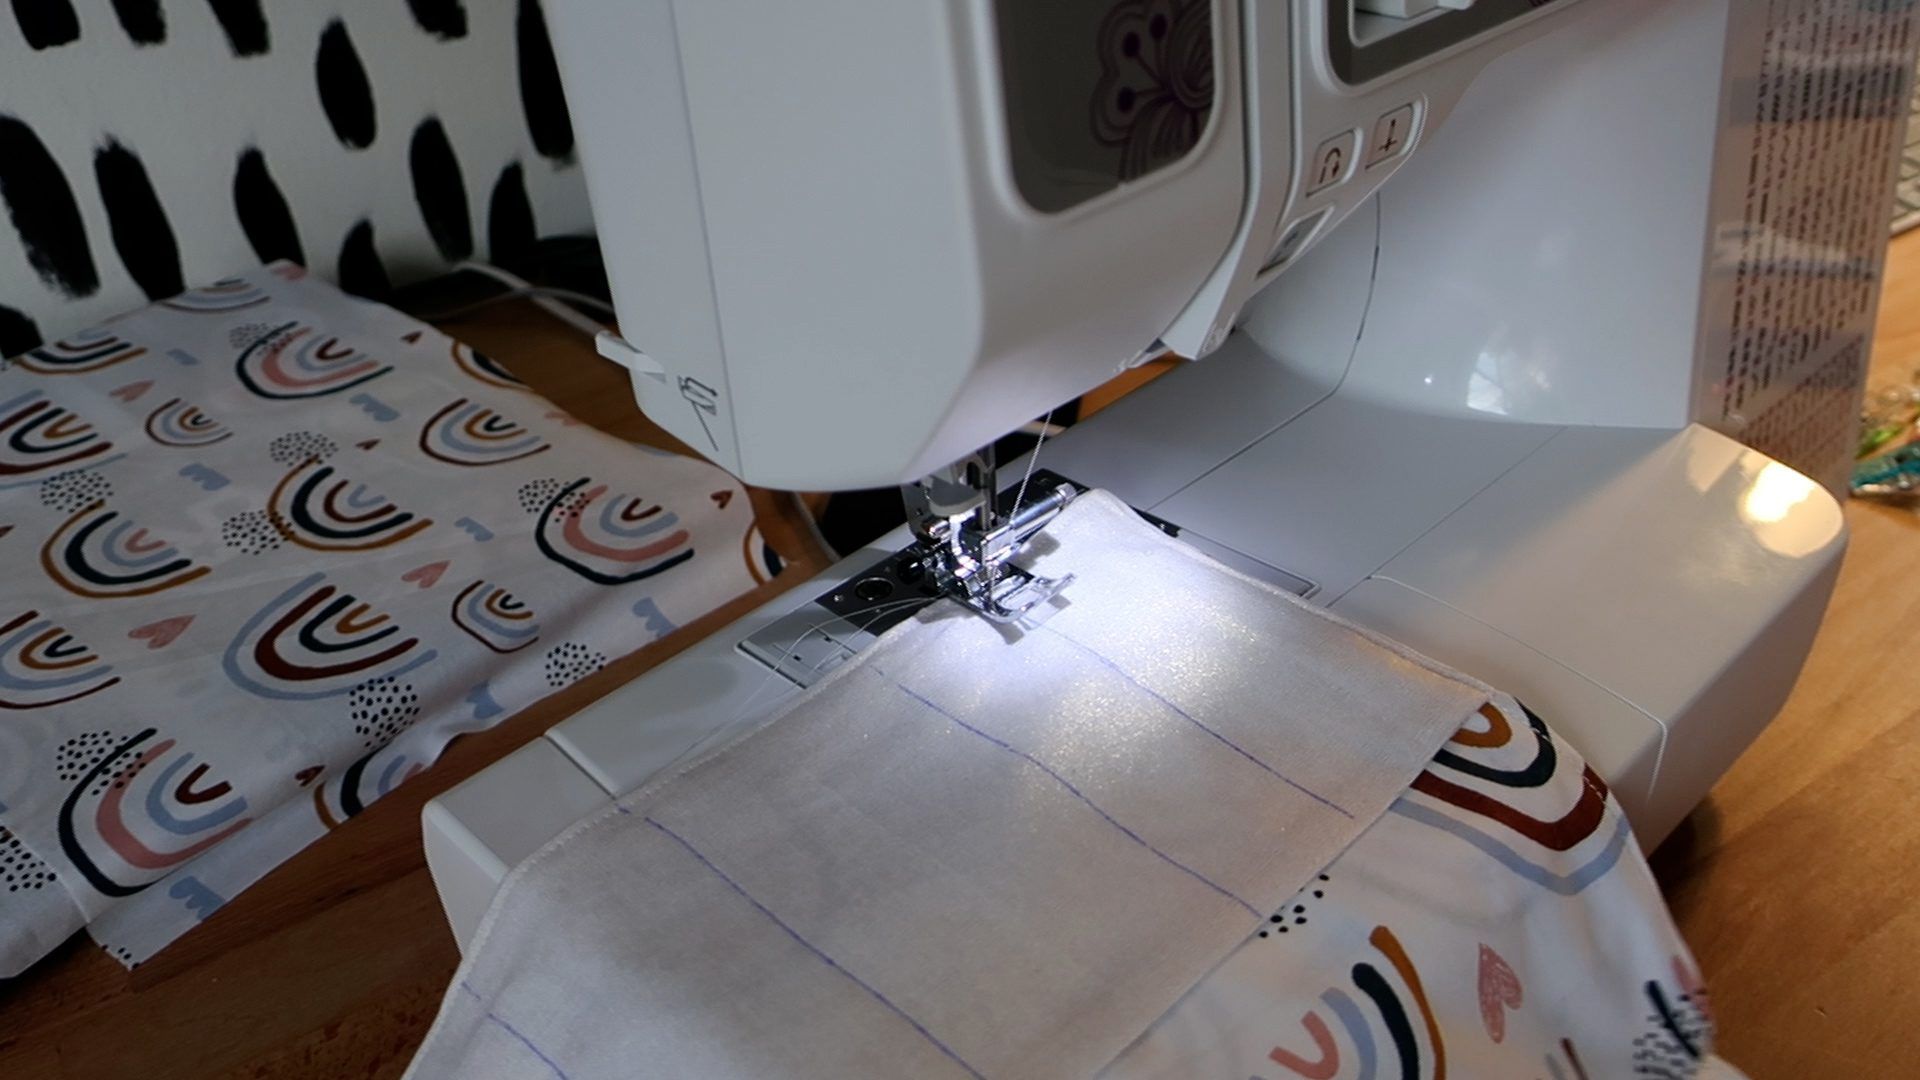
For a custom fit, place your makeup inside of the pocket. Use a ruler and a pen with disappearing ink, (or a pencil,) to draw crisp lines (roughly 2” apart).

Sew along the lines, making several small pockets.
Iron to erase the marking or use an eraser if you used a pencil.
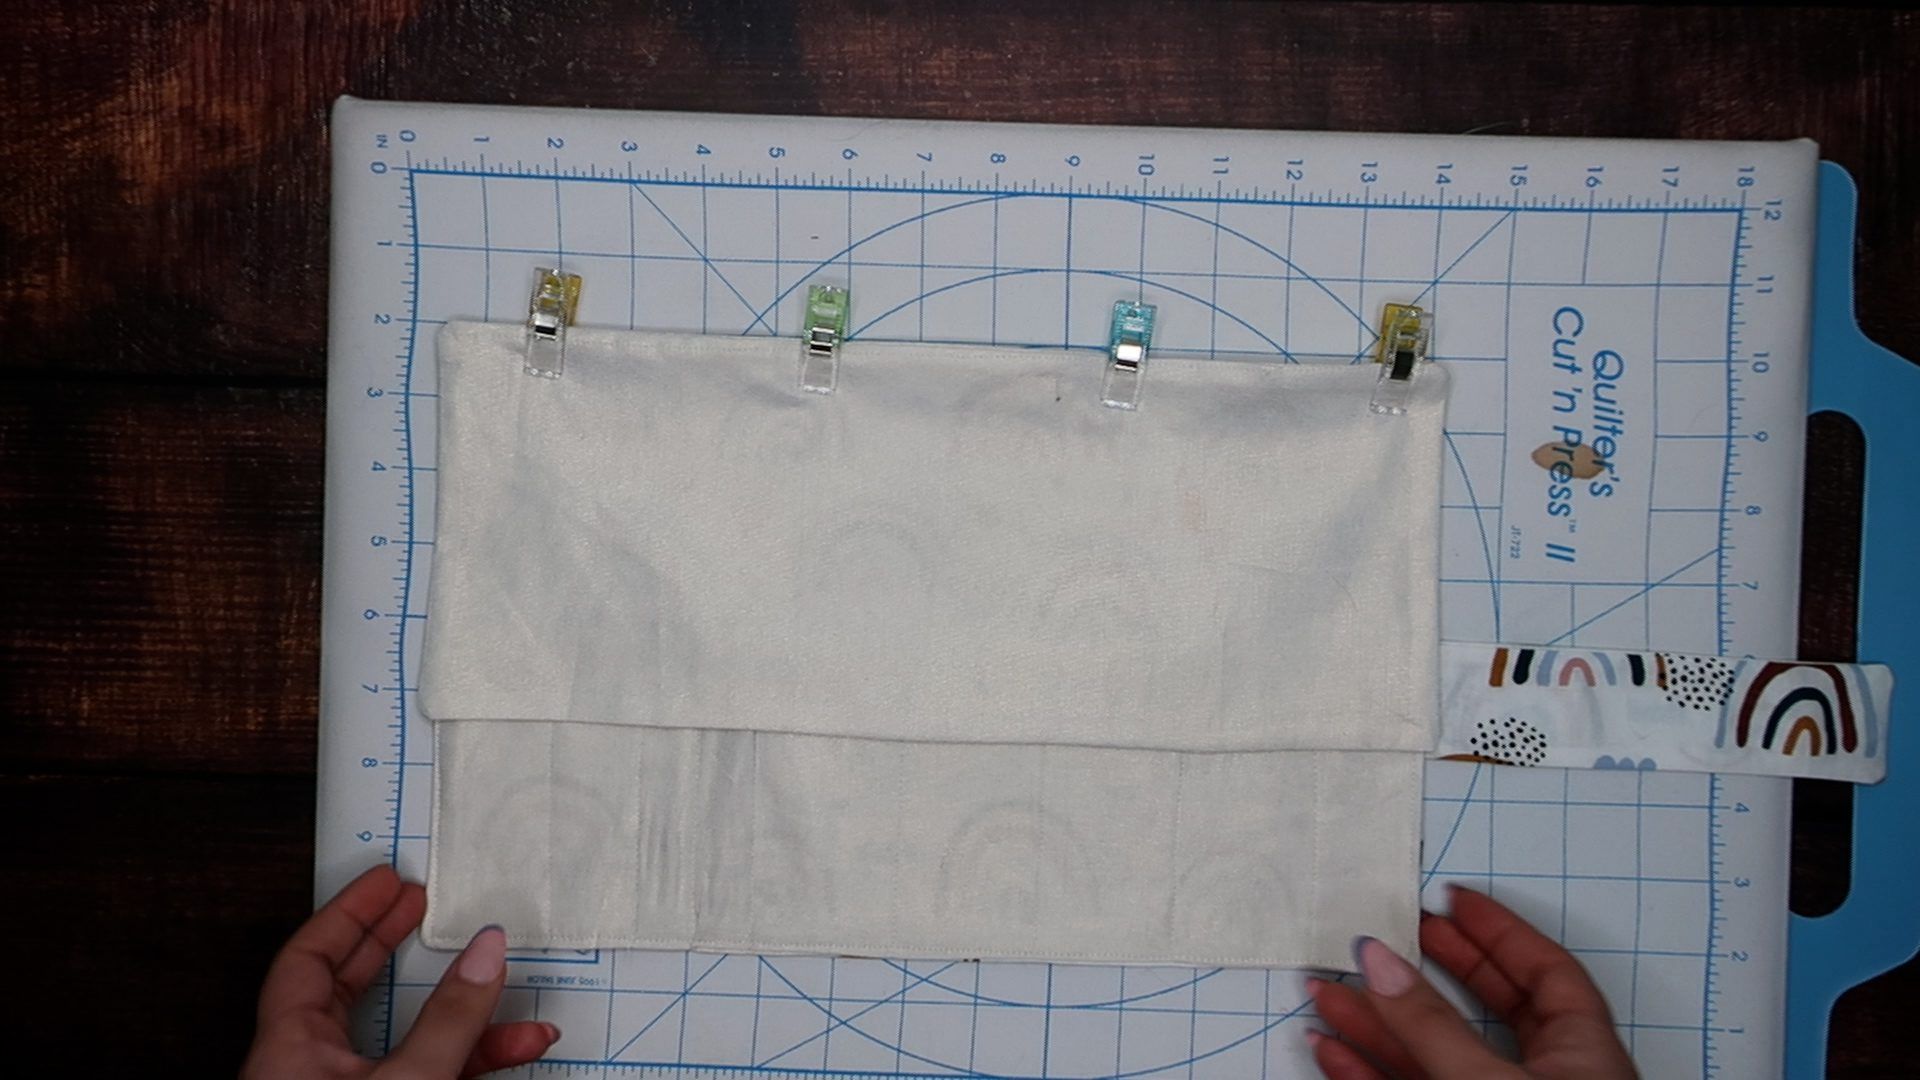
Now, align the last piece, (15” x 6”) to the top of the roll. Pin and sew along the top.
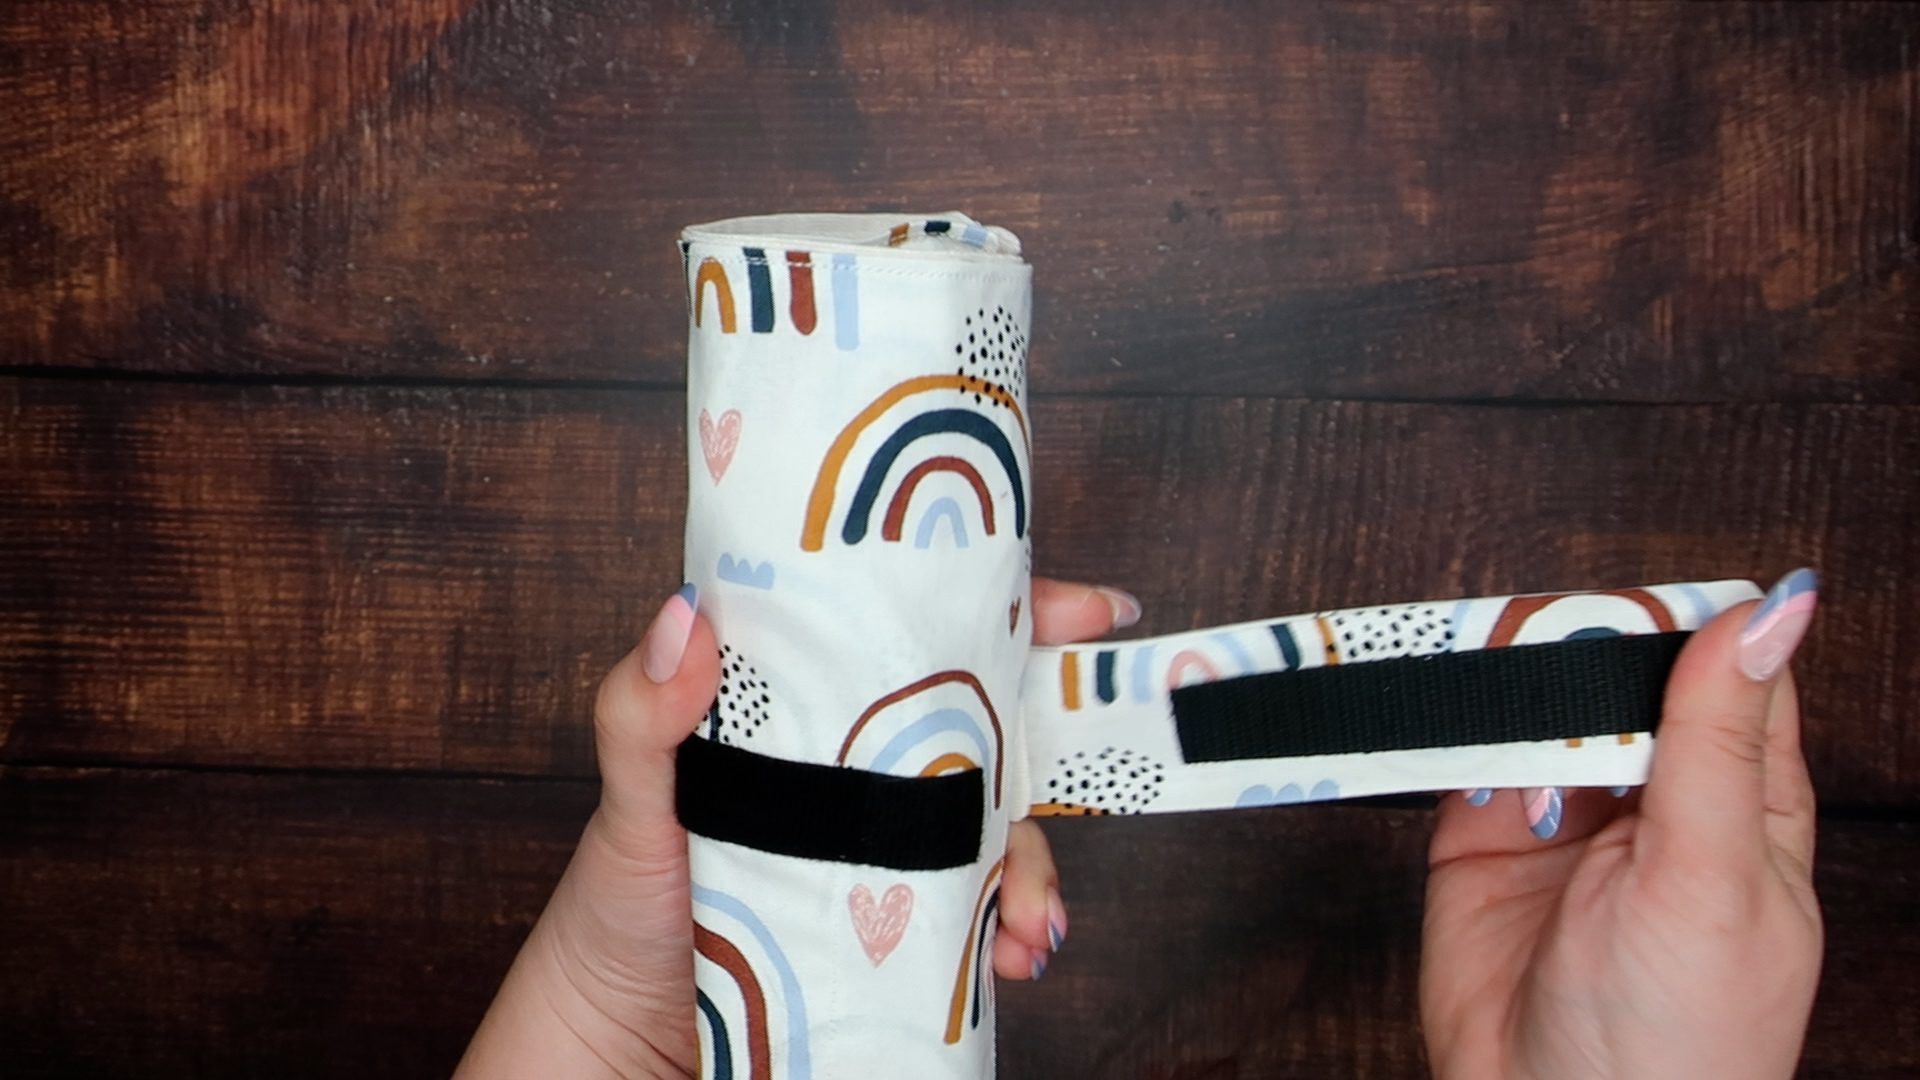
Last but not least, place one side of the VELCRO® Brand Sticky Back For Fabric Tape on the tab, and the other on the back of the roll.
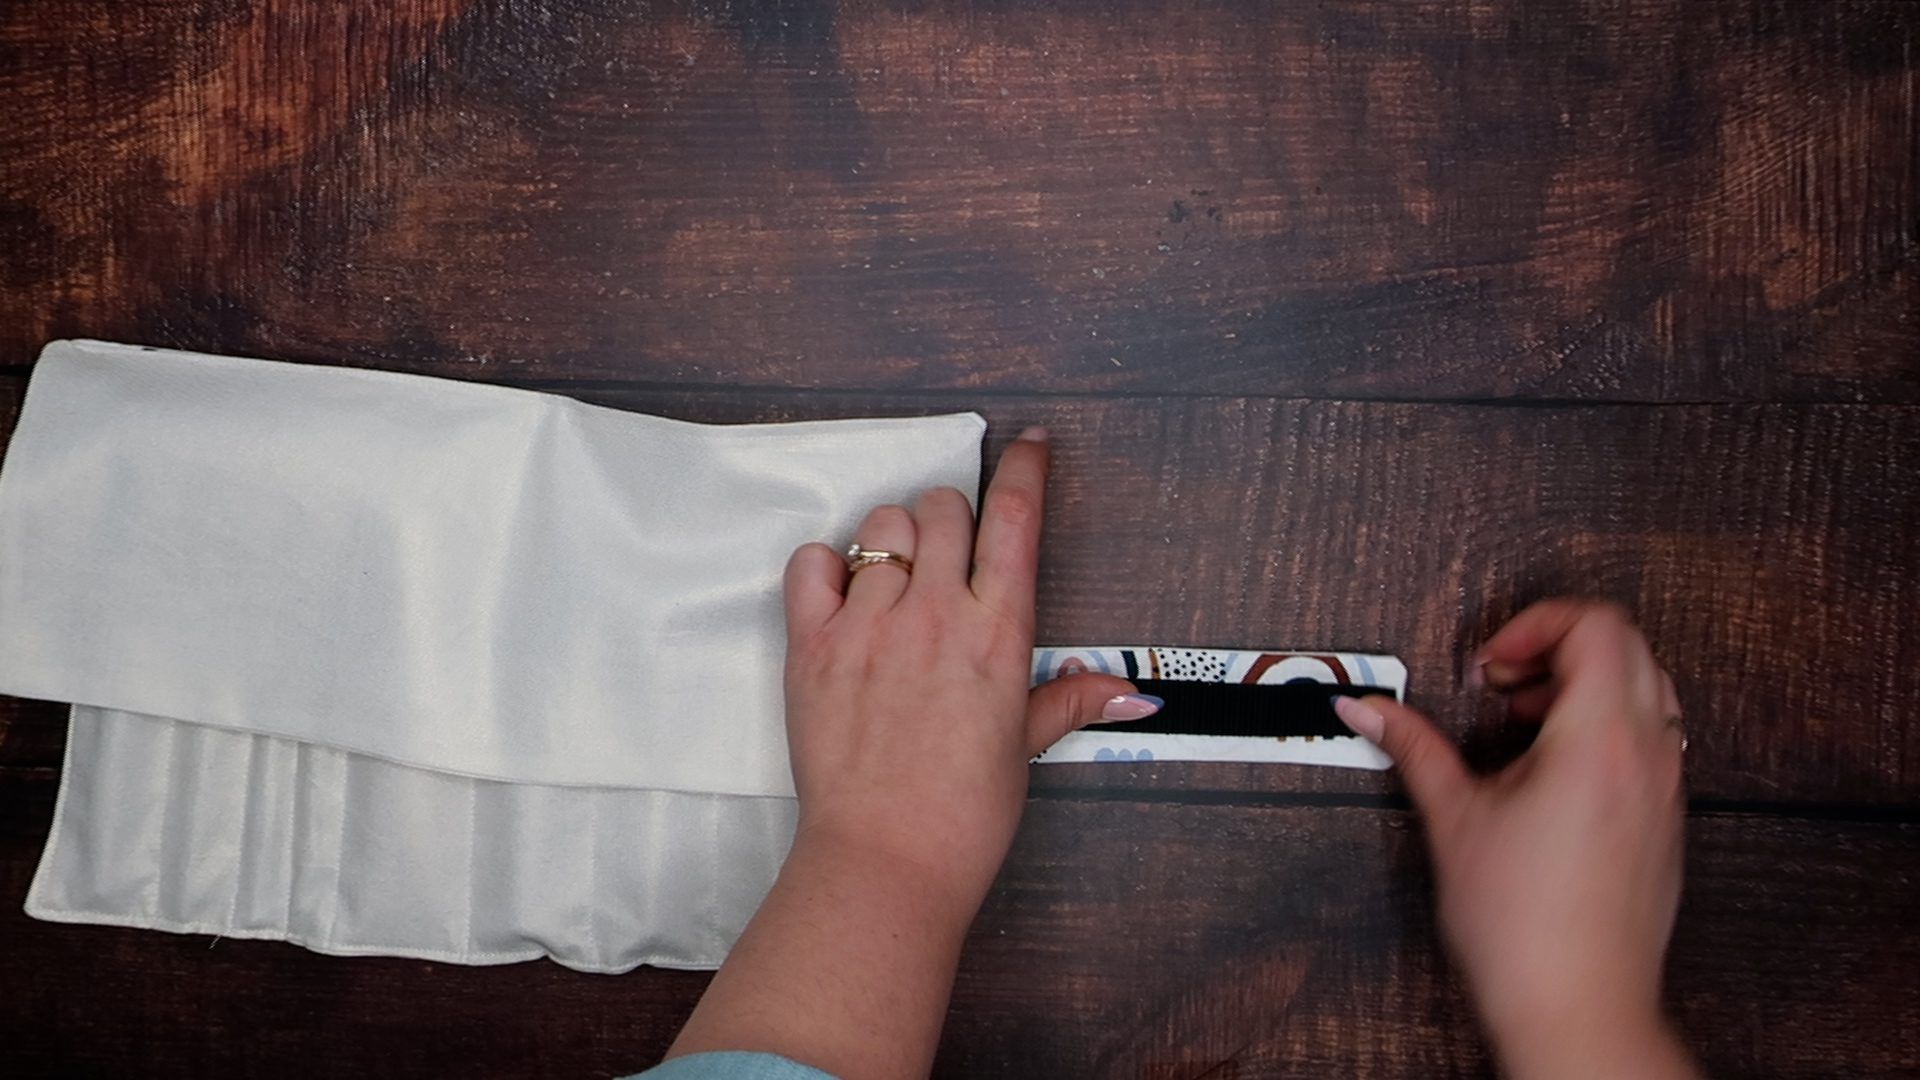
Make sure they line up and that’s it! Place your cosmetics inside, roll-up, and go!
If you’d like to try this sewing tutorial yourself, pick up a pack of VELCRO® Brand Sticky Back for Fabrics here. And for more easy sewing projects, stay on our blog!
- How to Make a DIY Hand Sanitizer Holder
- Make a Sofa Caddy with No Sewing!
- How to Make Unpaper Towels